







DIY Studio Ghibli Craft: How to Make a Laputa “Levitation Stone” Earring!
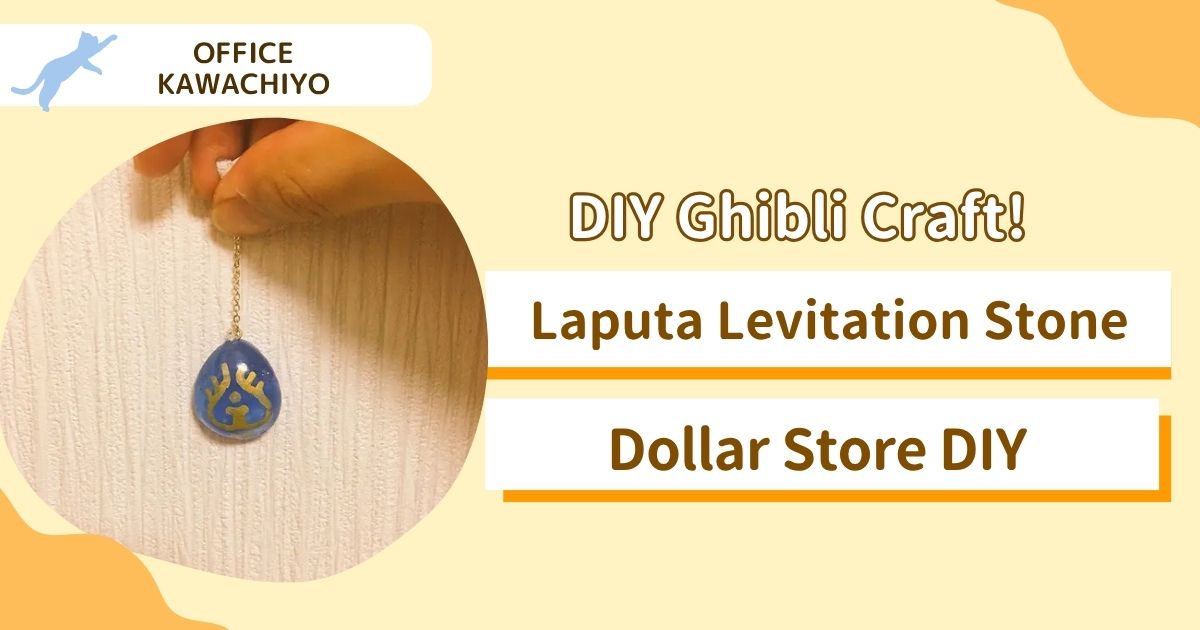
Today, I’m going to show you how to make a Levitation Stone earring using Oyumaru (a popular Japanese crafting material).
What is the “Levitation Stone”?
For those who might not know, the Levitation Stone (also known as the Volucite Crystal) is the iconic glowing blue pendant from Studio Ghibli’s masterpiece, Castle in the Sky (Laputa). It’s the very stone that triggered the legendary “Balse” spell of destruction, burning the villain Muska’s eyes out. (Okay, maybe that’s a slight exaggeration, but I accept all differing interpretations, haha!)

Materials (All from the 100-Yen Shop!)
Material
- Oyumaru (Blue) – Found at Daiso. (Oyumaru is a reusable thermoplastic modeling clay that softens in hot water and hardens when cool!)
- Eye pins (9-pins) – Found at Daiso.
- Dangling earring hooks – Found at Daiso.
- Clear UV Resin (Hard type)
- Gold Posca Pen – (A gold acrylic paint marker)
Actually, because I shared most of these materials to make my Slime earrings at the same time, this specific Laputa earring practically cost me only around 100 yen (less than $1) to make!
How to Make It
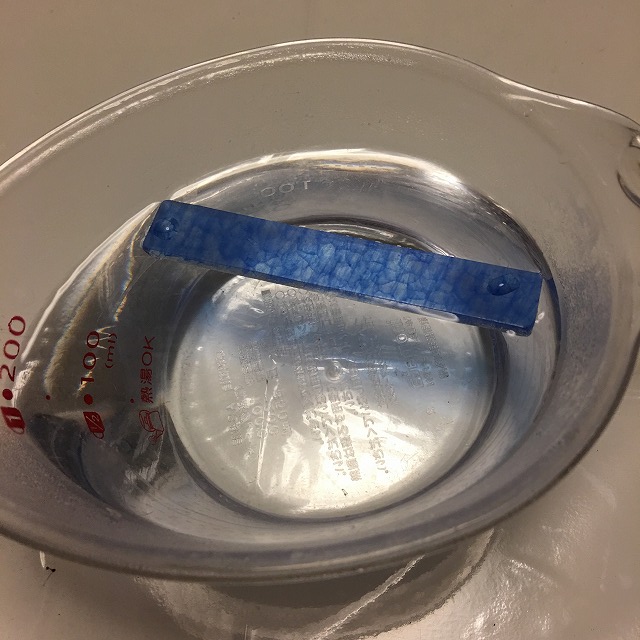
Step 1: Soften the Oyumaru
Place the blue Oyumaru into hot water. Let it sit until it becomes soft and pliable.
Step 2: Shape the Stone
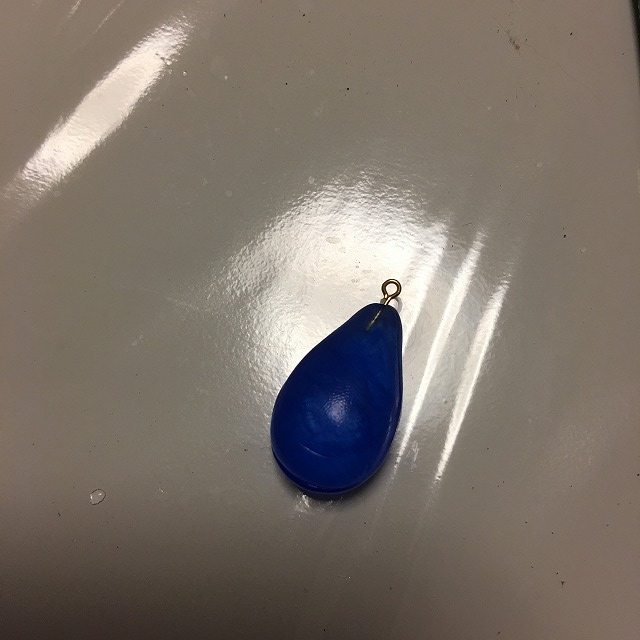
Take the softened Oyumaru and mold it to resemble the iconic shape of the Levitation Stone.
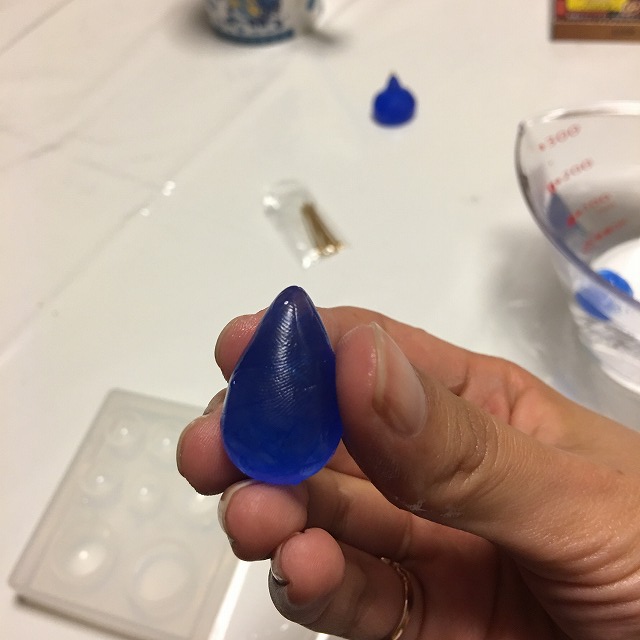
While you are molding it, push your metal eye pin right into the top of the clay, and knead the Oyumaru securely around it.
Step 3: Sand the Surface
Once it cools and hardens into the general shape, use sandpaper to smooth out the surface.
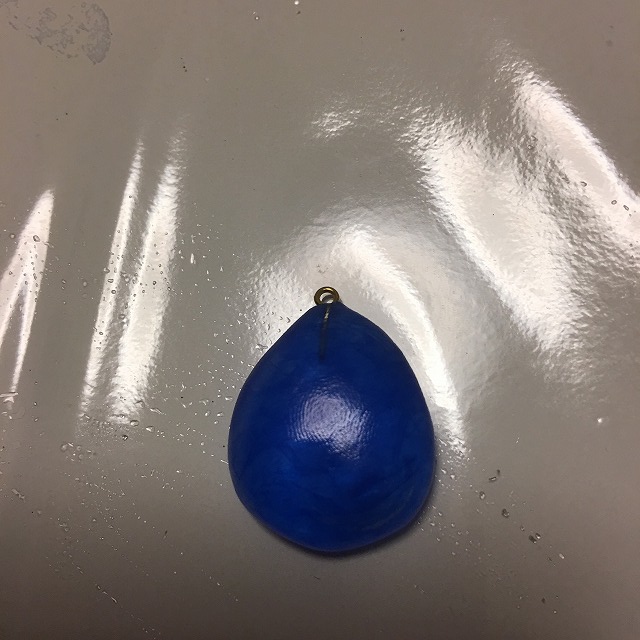
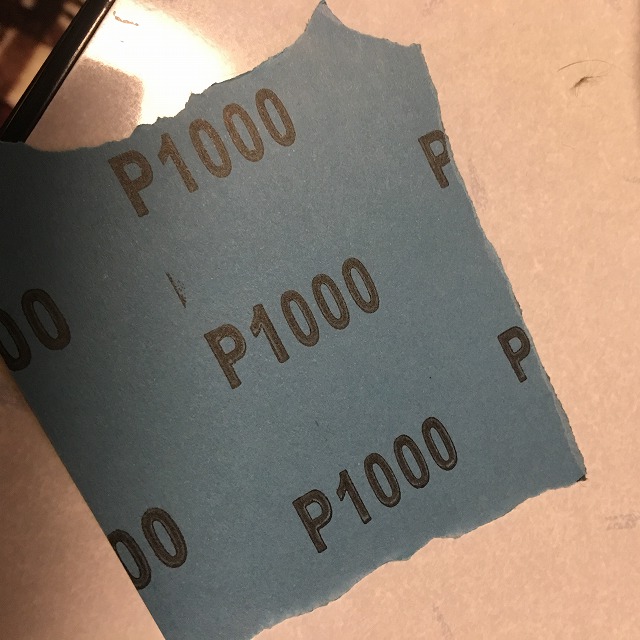
It might look a little lopsided, but don’t worry too much about it! Be sure to use fine-grit sandpaper for this step so you don’t leave deep scratches.
Step 4: Draw the Laputa Crest
Now, take your gold Posca marker and carefully draw the Laputa royal crest on the front of the stone.
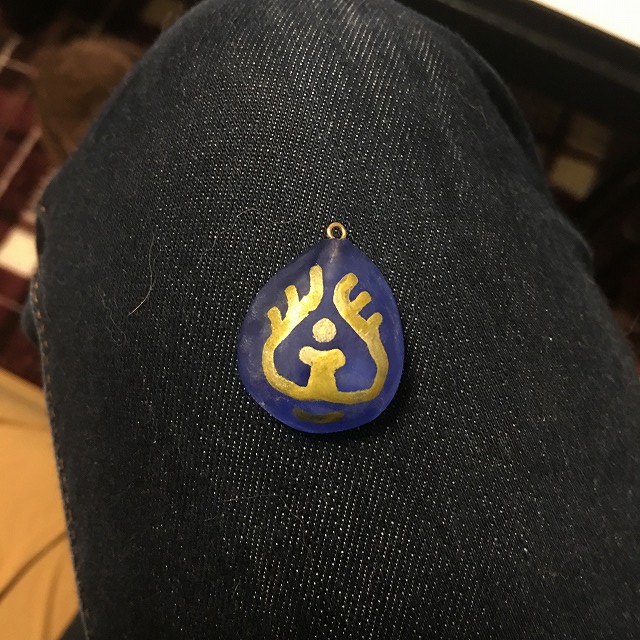
Mine turned out a bit crooked, to be honest. But the great thing about using a Posca pen is that if you make a mistake, you can just wipe it away with a damp tissue! You can redraw it as many times as you need until you are completely satisfied.
Step 5: Coat with Resin and Assemble
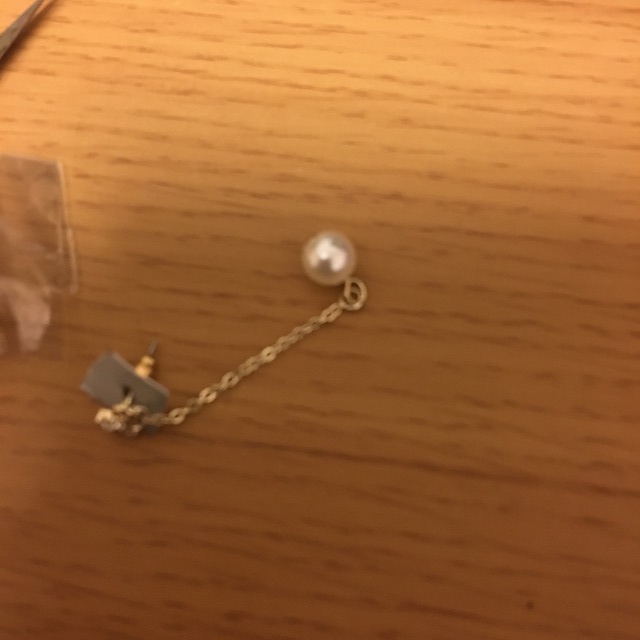
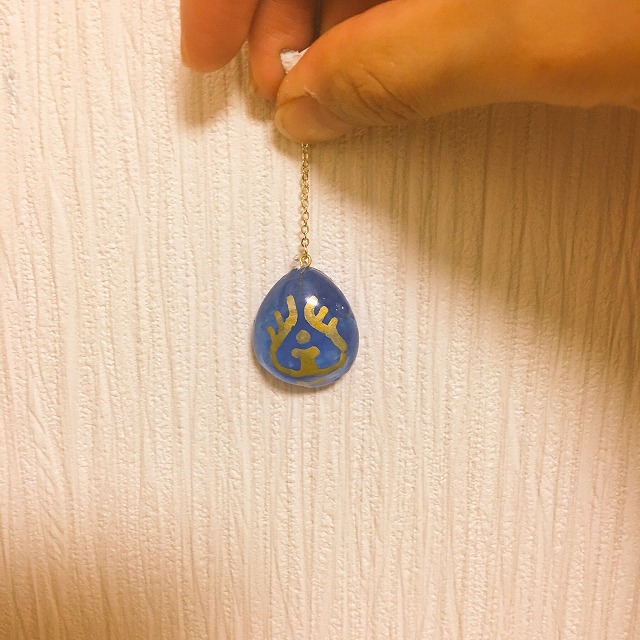
Finally, coat the entire surface of the stone with clear hard UV resin and cure it. This locks in the gold paint and gives it a beautiful, glass-like shine!
Once cured, attach the eye pin to your earring hook.
Thanks to the glossy resin coat, it actually looks pretty authentic!
Final Thoughts & Tips
The key to making a good Levitation Stone is shaping the base into a thick, stubby teardrop. As long as you get that shape right, it will naturally look like the real thing!
Here is what it looks like next to the Slime earring I made.
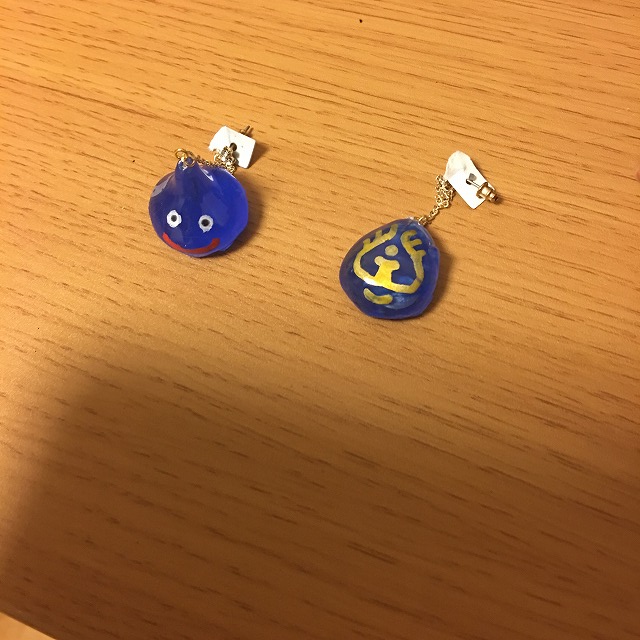
Hmm… it definitely has a bit of a “handmade amateur” vibe to it, but I think it turned out pretty well!
One warning: Oyumaru coated in resin can be a bit heavy. If your ear piercings are placed very low on your earlobes, be careful so it doesn’t pull too hard on your ears!
If you don’t want to make it yourself, you can actually buy official Levitation Stone accessories on Amazon!

 ポチップ
ポチップ
Want to Try More Crafts?
Check out my other handmade DIY craft tutorials here on the blog!
If you’re getting all your materials from Amazon

 ポチップ
ポチップ

 ポチップ
ポチップ
-
 Boso-no-Mura Guide: The Best Hidden Samurai Village & Museum in Chiba!
-
 DIY Dragon Quest Slime Earrings: An Easy & Authentic Gamer Craft!
Author of this article
関連記事
-
 How to Make a Silent Hill Bubble Head Nurse Cosplay Costume & Photoshoot Tips
 -
 How Adults Actually Play with Action Figures: A Personal Investigation
 -
 How to Enjoy “Adult Coloring Books” & My Recommended Colored Pencils
 -
 How to Do “Paint by Numbers”: Easy Oil Painting Just by Coloring!
 -
 [Thorough Comparison] Why You Should Choose Adult Coloring Books by Paper Quality! The Secret to Easy Blending and Shading
 -
 How to Make Custom Scratch Art: Easy Ways to Transfer Your Original Designs
 -
 How to Make a 100-Yen DIY Art Panel to Display Scratch Art and Photos
 -
 How I Finally Figured Out the Trick to Scratching 100-Yen Scratch Art Perfectly
Comments