


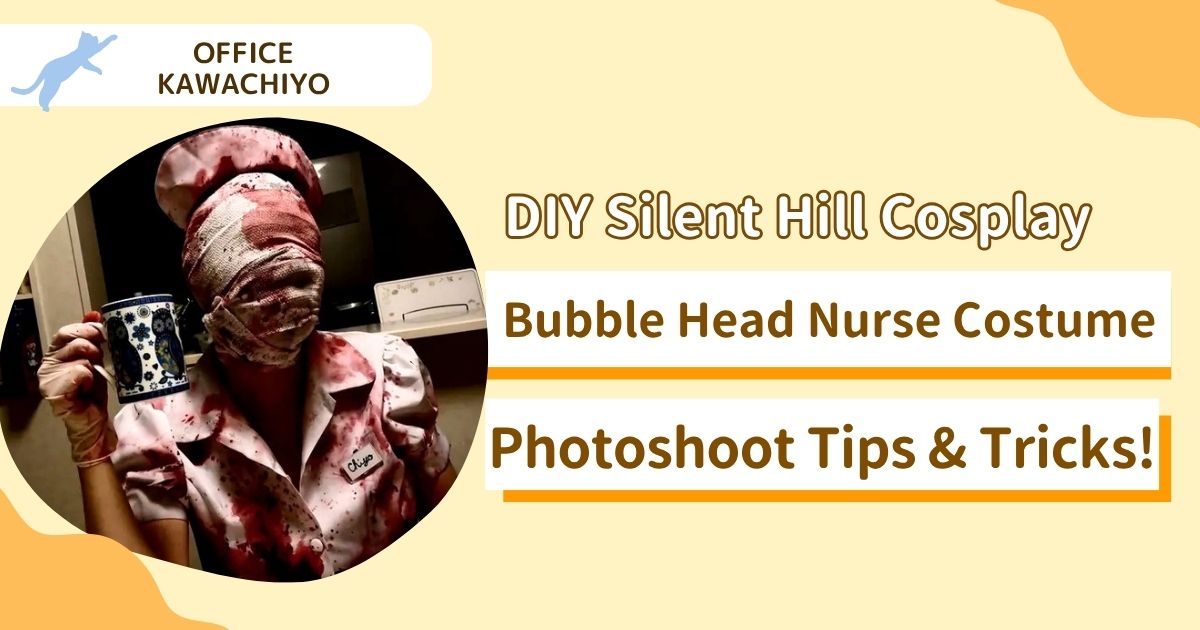
How to Make a Silent Hill Bubble Head Nurse Cosplay Costume & Photoshoot Tips
I absolutely, completely love the game Silent Hill.

The ruined world. The monster visuals that pinpoint and trigger human fears in indescribable ways. The storyline that shows the depths of human darkness while dangling a thin, long thread of hope. The adrenaline rush when you finally take down a monster.
Anyway, I love everything about it, and I’ve always thought, “Someday, I want to cosplay and do a proper photoshoot!” And if I’m going to do it, it has to be the “Bubble Head Nurse”—the enemy monster with the swollen, balloon-like face and a dynamite body.
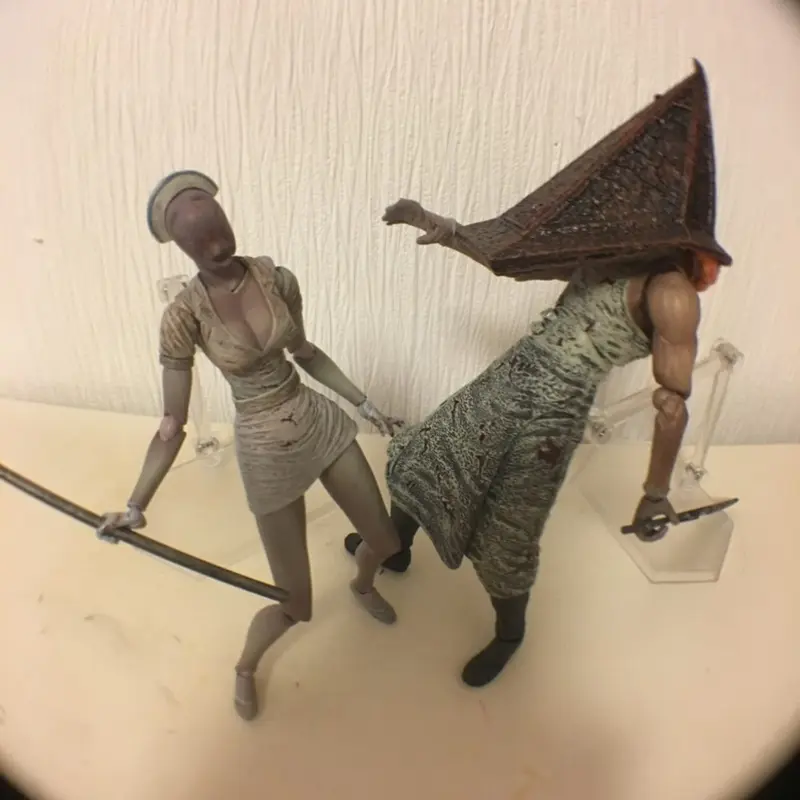
I’ve been dreaming about this since I was 20, and now I’m approaching my 40s…
I realized that I need to start doing the things I want to do while I still can. So, I finally took the plunge and did a Bubble Head Nurse cosplay! Today, I’ll share how I made the costume, tips for the photoshoot, and answer the question, “What do you even do with the photos once you take them?”
Let’s Make a Bubble Head Nurse Cosplay Costume!
What to Buy
The hardest part of cosplaying is usually preparing the outfit. But in my case, I figured as long as I had bandages and a nurse uniform, I could make it work. First, I bought a used nurse uniform and nurse sandals set on Mercari (a popular Japanese flea market app).
(If you register on Mercari using my invite code “NYBSMQ”, you can get 500 points!)
It was a costume originally from Don Quijote (Donki, a famous Japanese discount store) complete with sandals, and the seller happened to be around the same height as me, so I bought it instantly. Thankfully, I got the main outfit sorted for just 1,500 yen (about $10)!
Other Materials…
- 2 rolls of size L bandages and a triangular bandage (Bought at Daiso, a 100-yen shop)
- Red and black paint (Already had this)
- Stockings (Given to me by the photographer)
- A piece of square lumber (Bought at a home center for 50 yen)
- A fake blood-stained wrench (Bought at Daiso)
- Rubber gloves (Already had these)
With all this, the total cost for my cosplay supplies came to about 2,000 yen (around $14).
 me
meQuite a bargain
By the way, I saw some pre-made “Bubble Head Nurse cosplay sets” on Amazon, but the quality looked a bit… questionable. Honestly, making it yourself is definitely cheaper and will result in a much higher quality costume.
Also, canonically, the Bubble Head Nurse has a face swollen like a balloon, so she doesn’t actually wear wrapped bandages. But recreating that swollen head is extremely difficult, so I decided to arrange my own original bandage-wrapped version.
How to Make the Cosplay Costume
Now that we have the materials, it’s time for crafting!
The Bubble Head Nurse has an overall filthy look—you can’t tell if she’s covered in blood, grime, or both.
So, I took my nurse uniform, cap, sandals, and stockings into the bathroom. I mixed red and black paint and, without any hesitation, started splattering it all over them using a brush!
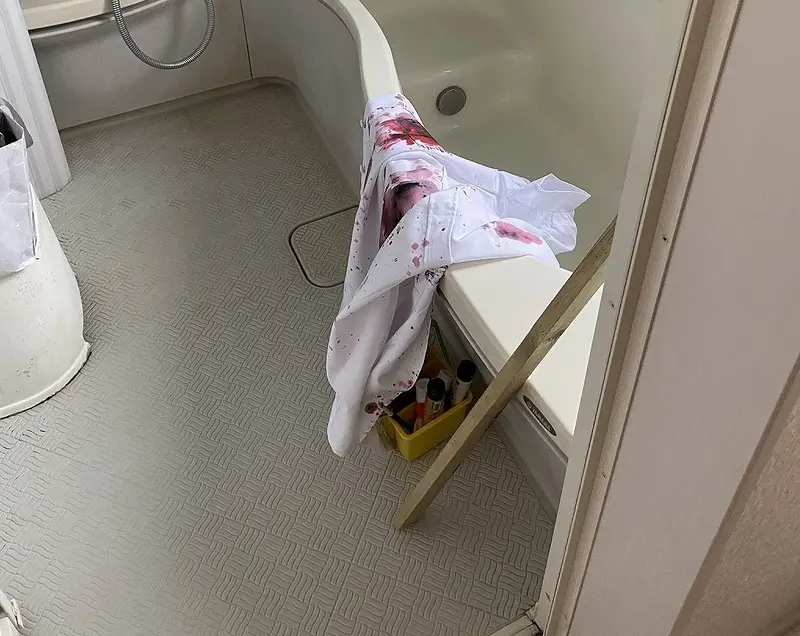
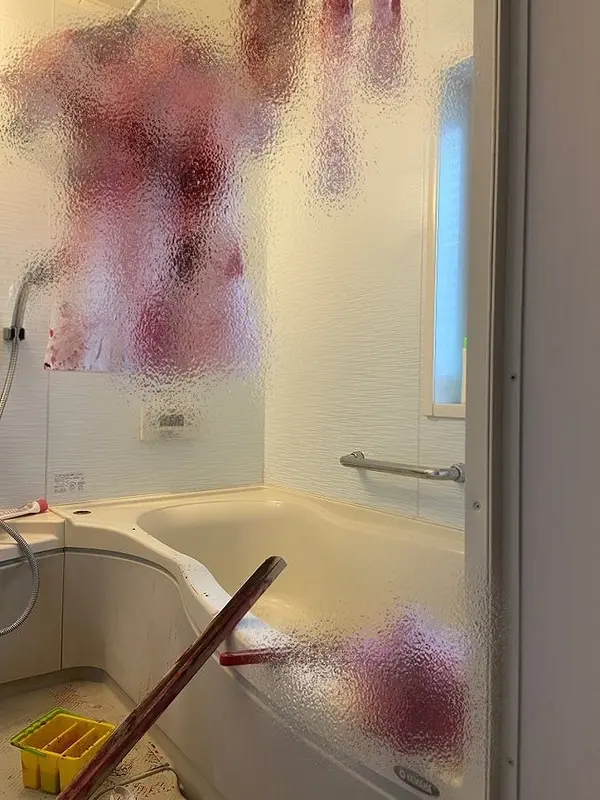
It looked so realistic and gory that I was worried some trigger-happy person might misunderstand and report me to the police, so I added a mosaic blur to the photo. But honestly, that just made it look even more like a horror movie…
Since I used watercolor/acrylic paint, if you mess up a little, you can just splash some water on it, blur it out, and paint over it again. That being said, it is mostly a one-shot deal, so make sure to check the overall balance as you add the paint. I got a little too excited and added way too much red. When I finally came to my senses, I thought, “Oops, I overdid it…”
Once everything is completely dry, you’re done! Depending on the fit, you can pinch and sew the waist area on the back of the nurse uniform to make it hug your body lines more—it makes you look much more like the actual Bubble Head Nurse. If sewing is a hassle, you can just use clips or safety pins. Just make sure they don’t show up in the photos!
Be Careful Choosing Your Photoshoot Location!!
近In recent years, cosplay has become much more widely accepted. However, when doing a grotesque or gory cosplay like this, you have to be extremely careful not to cause trouble for normal people, or you’ll give the entire cosplay community a bad name. If you go to a random tunnel without permission and start taking photos, an unsuspecting passerby might scream, pass out, and call the cops on you.
For this shoot, I used Space Market (a Japanese website for booking rental spaces). I found a place nearby with a great atmosphere and affordable rates—hitting the jackpot! Of course, just to be safe, I contacted the owner beforehand to ask if horror-themed cosplay was allowed. “Would it be okay to use this space for a Bubble Head Nurse cosplay photoshoot? Here are some reference images…” Sending pictures from the Silent Hill movie to ask for permission was honestly the most humiliating part of this whole experience.
Horror cosplay can be a bit of a hassle in that regard. But once you get a reply saying, “Oh my! That looks amazing!!” and official permission, you’re good to go! Book the space and use it proudly.
If you can’t find a rental space, asking permission from someone you know who has a large, private yard is a good alternative. Whatever you do, DO NOT do a gory cosplay photoshoot in a public park without permission. You will get reported.
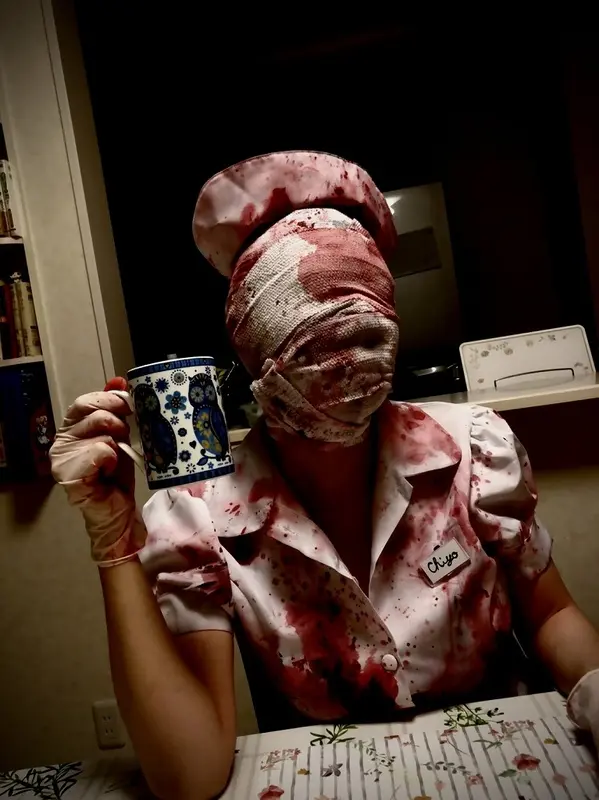
Also, some studios completely ban fake blood because it stains, so confirming this beforehand saves everyone a headache.
Hire a Photographer Instead of Asking a Friend!!
Finally, the day of the shoot arrived. Now it’s time to take pictures! But here is my biggest piece of advice: You absolutely need a professional (or highly skilled) photographer!!
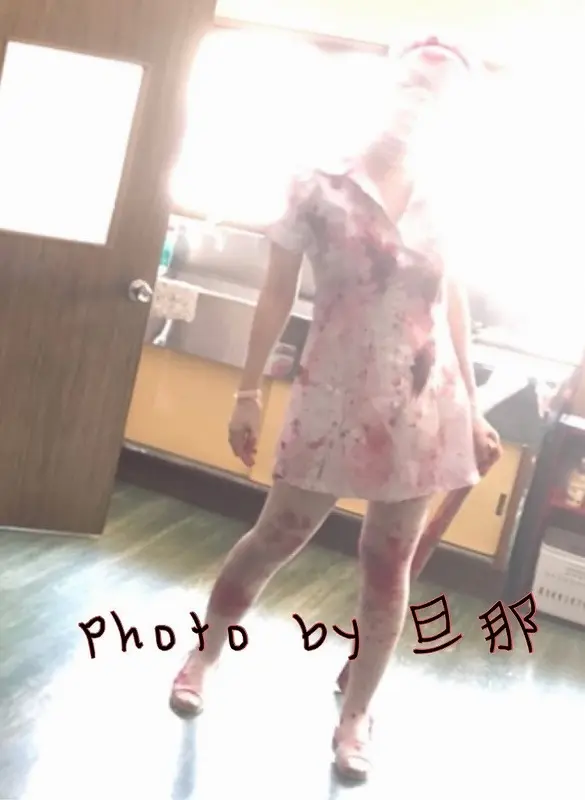
I originally thought, “Well, if push comes to shove, I’ll just have my husband take the photos…” But obviously, the quality is completely different!
Here is a photo my husband took:
And here is a photo taken from the same angle by the photographer:
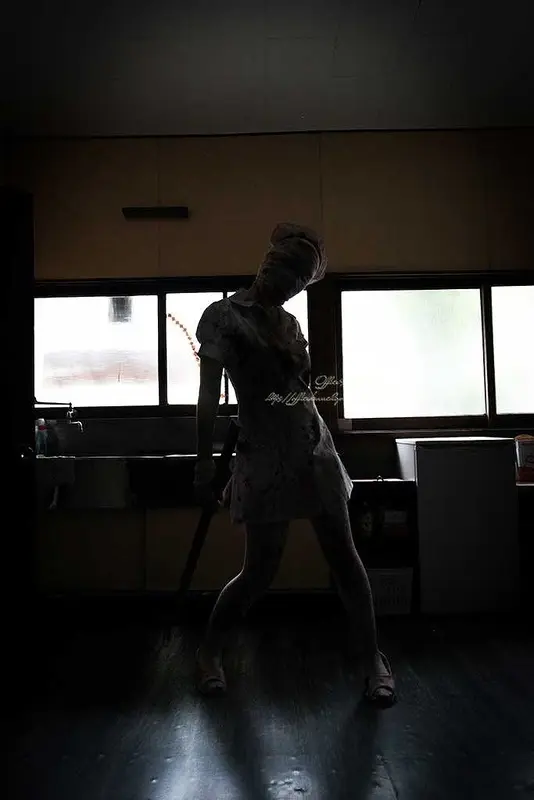
That’s how huge the difference is!
The photographer gave me some eye-opening advice: “In a dark place, it’s okay to take dark photos.” An amateur will desperately try to raise the exposure to make the photo brighter, resulting in a blurry mess. That difference in intuition is crucial. Furthermore, if they aren’t a photographer, they probably won’t come up with ideas like, “Let’s shoot from this angle…” You’re already spending money on a location and making a costume, so I highly recommend hiring a pro, or at least someone who is very knowledgeable about cameras and shoots frequently as a hobby.
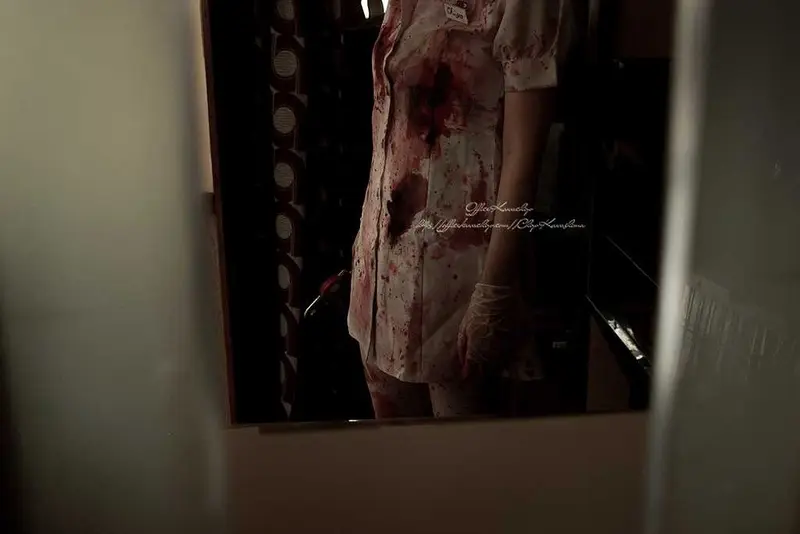
So, I had photos taken right up until our time ran out and received the data. Since I use Photoshop for my day job, I edited the photos myself. But nowadays, you can easily edit them with smartphone apps, so go wild and edit them however you like!
And here is the final result…
Try Making a Cheap Photo Book & Posters!
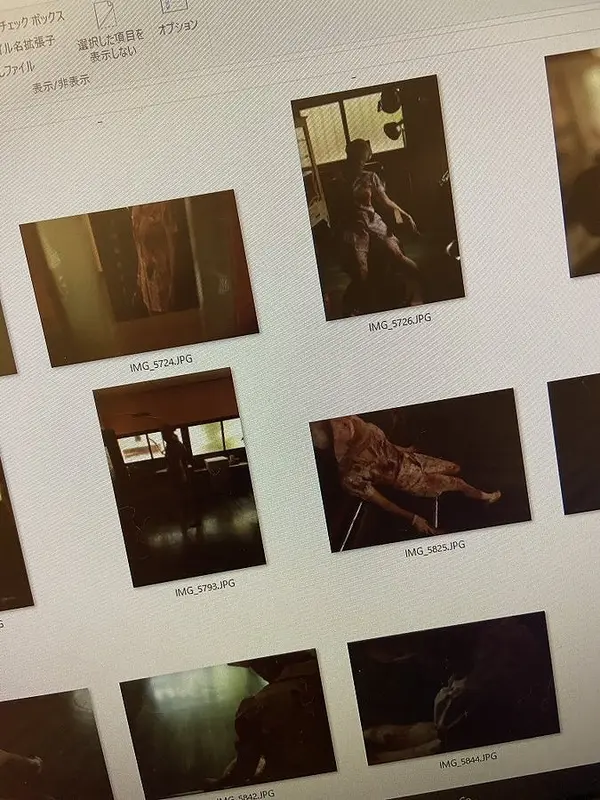
Once I gathered my favorite photos, I used Shimauma Print to turn them into a photo book. Shimauma Print is a Japanese online printing service known for being “super cheap.” Their books start at a mind-blowing 198 yen (less than $2)! The creation process is intuitive and easy to understand, making it my go-to printing service.
I was a little nervous they might reject my order, saying, “This content is a bit too gory…” but they printed it without any issues!
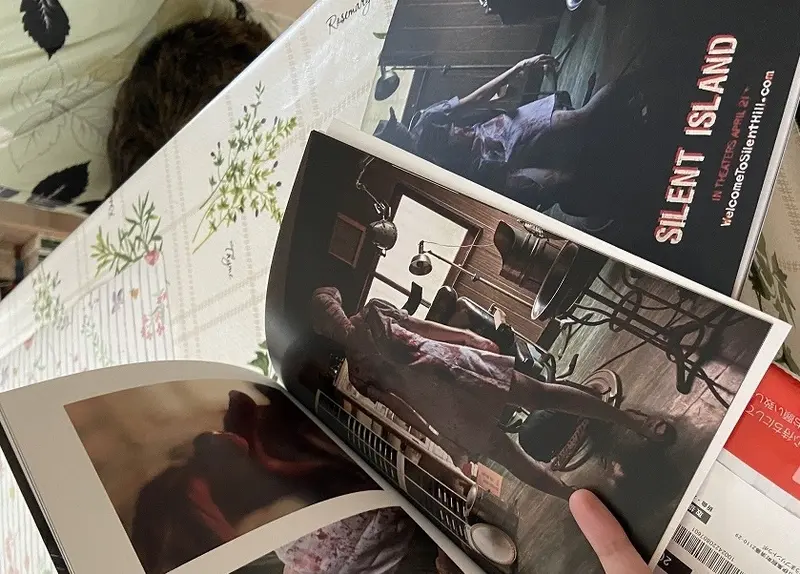
If you are particular about color quality, you can choose the high-quality printing option for a bit more money, but it’s still very cheap.
Besides the book, I also edited a photo to look like a movie poster and hung it in my workspace…
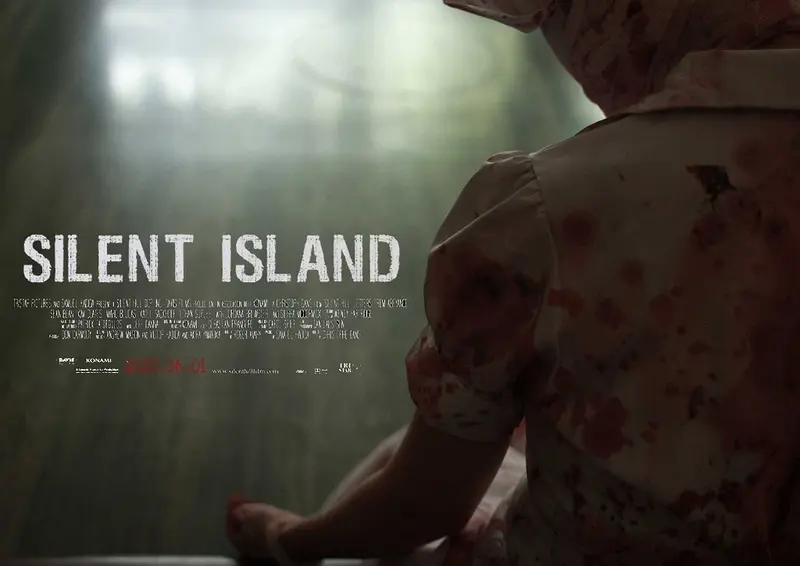
Ultimately, since you aren’t selling these, just have fun! Mimic real posters, use cool fonts, edit them, and enjoy them for yourself. Oh, and of course, you can use them as your Twitter (X) icons—there are so many uses!
We live in a country that allows us to occasionally become someone completely different (lol). So take the plunge and enjoy it to the fullest!!
カワチヨ.If you’re no longer satisfied with just playing with action figures, you definitely have to try this!!!
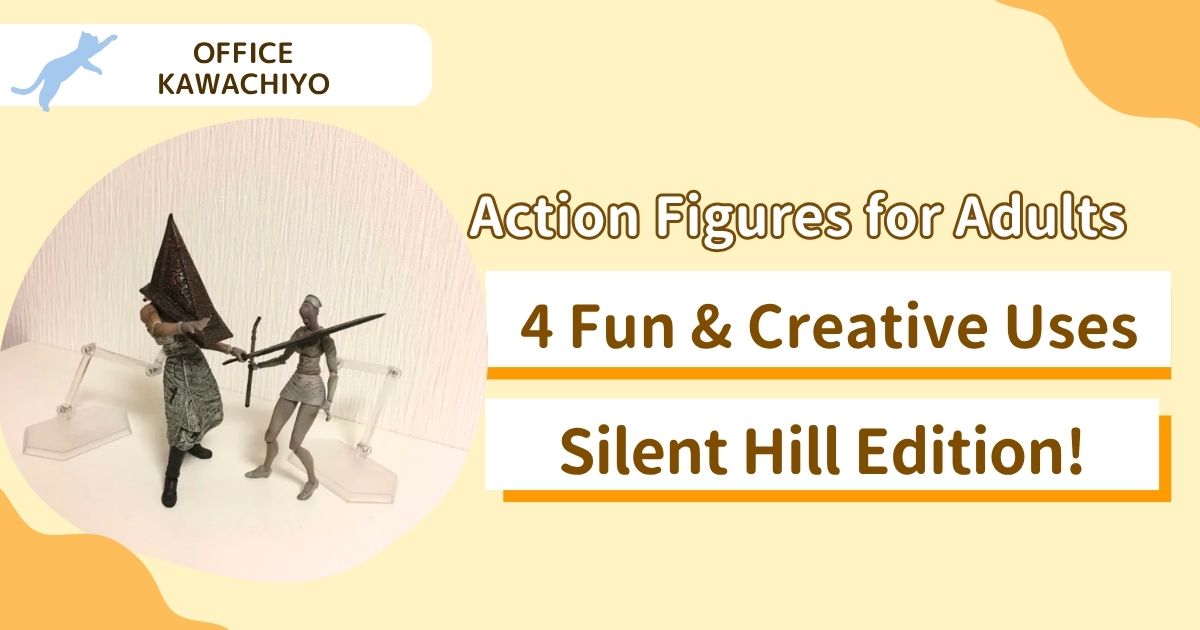
Check out my other “Adult Try-It” logs here!
Author of this article
関連記事
-
How Adults Actually Play with Action Figures: A Personal Investigation
-
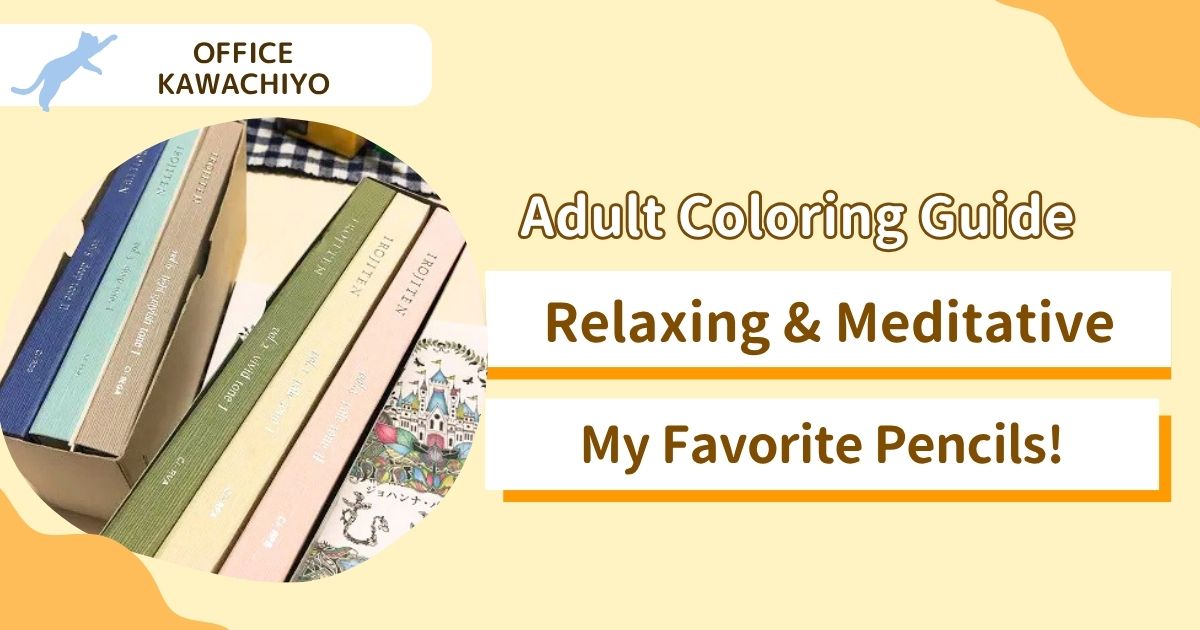 How to Enjoy “Adult Coloring Books” & My Recommended Colored Pencils
 -
 How to Do “Paint by Numbers”: Easy Oil Painting Just by Coloring!
 -
 [Thorough Comparison] Why You Should Choose Adult Coloring Books by Paper Quality! The Secret to Easy Blending and Shading
 -
 How to Make Custom Scratch Art: Easy Ways to Transfer Your Original Designs
 -
 How to Make a 100-Yen DIY Art Panel to Display Scratch Art and Photos
 -
 How I Finally Figured Out the Trick to Scratching 100-Yen Scratch Art Perfectly
 -
 Is 100-Yen Daiso Scratch Art Hard to Scratch? An Honest Review
Comments