



How to Make a 100-Yen DIY Art Panel to Display Scratch Art and Photos
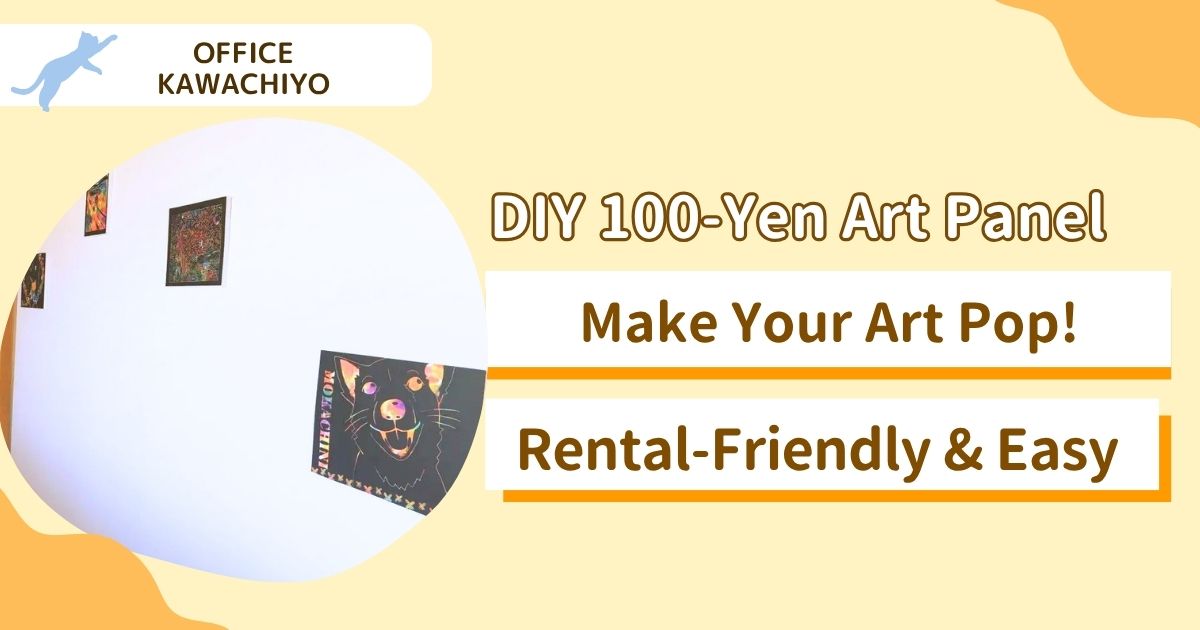
When you just put a photo or drawing in a standard frame, it can look a bit flat (obviously) and sometimes a little boring. You could use a frame mat, but the sizes don’t always match perfectly, and cheap frames often lack the thickness for it anyway…
If you’ve ever had this dilemma, let me introduce you to the “100-Yen Styrofoam Art Panel”!
What is a “Panel Display”?
You know that display style often seen at photo exhibitions where the pictures look like they are “popping out” from the wall? I like to call it a “panel display.” It’s amazing how just doing this makes pictures and photos look incredibly gorgeous.
Professional galleries probably use real wood or fabric-wrapped panels, but for home decor, a simple styrofoam board works perfectly fine! Plus, this method is completely renter-friendly. We use wall-safe double-sided tape that doesn’t leave marks, making it super easy to swap out your art.
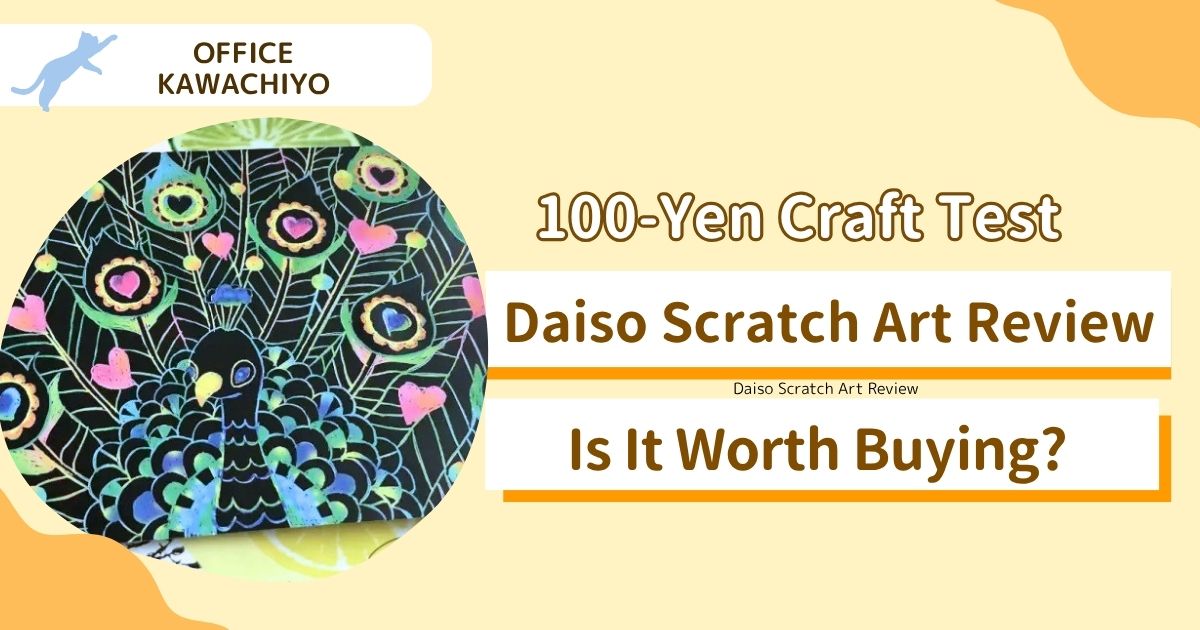
Today, I’ll show you how to make one while displaying the scratch art I worked on recently.
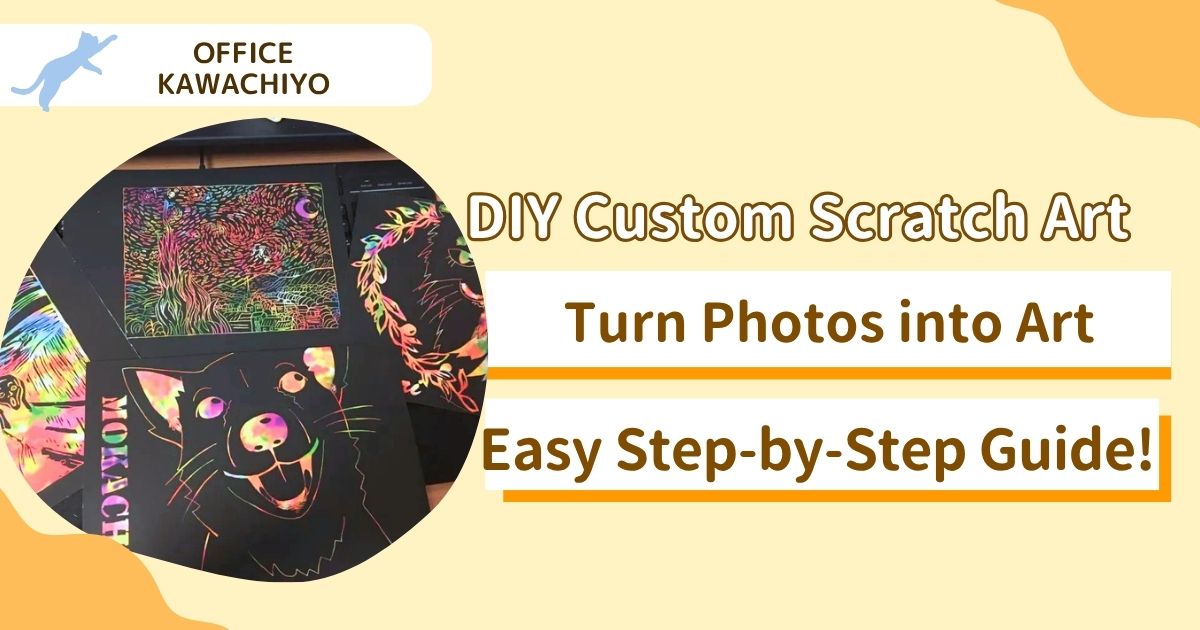
Turn Your Art into a Gorgeous Display with 100-Yen Materials!
Materials
- Styrofoam Board (Any thickness you prefer; you can find these at Daiso or other 100-yen shops)
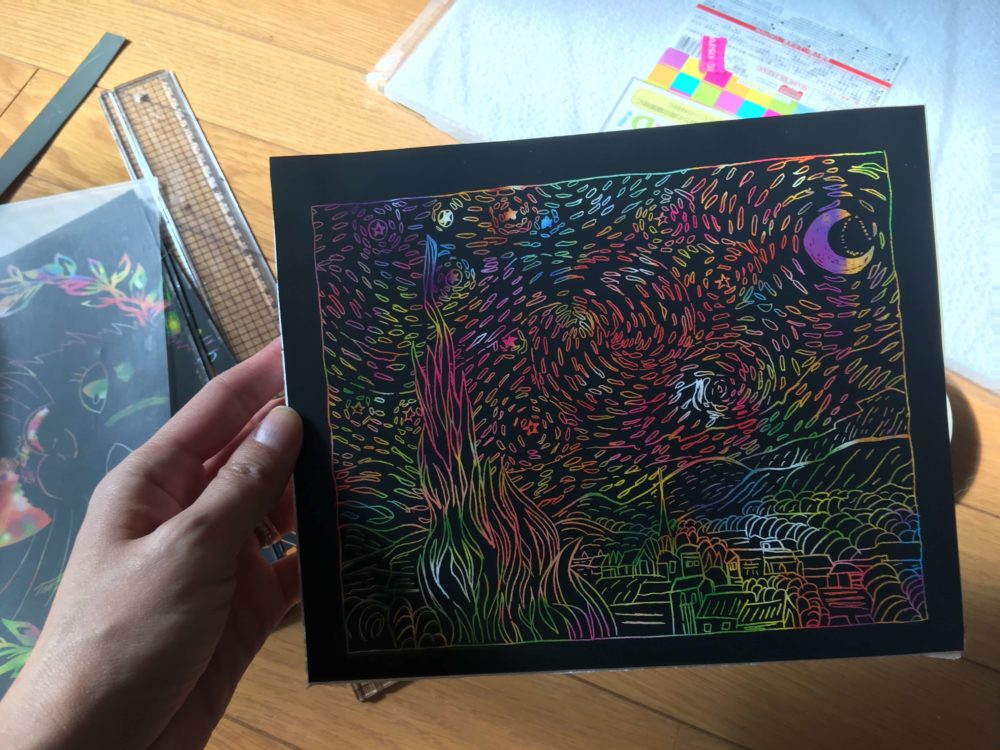
- The Art to Display (I’m using my self-made scratch art)
- Wall-Safe Double-Sided Tape (A total lifesaver for any household!)


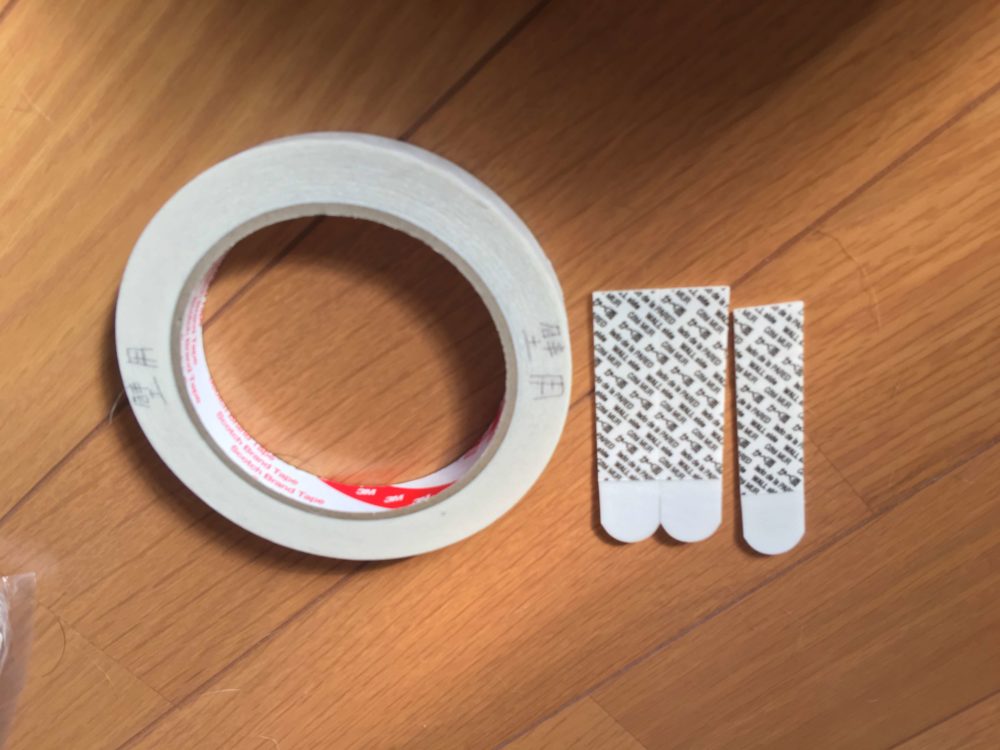
I recommend the standard tape roll (on the left), but the pull-tab style strips (on the right) work too. With the pull-tab type, you pull the white tab, and the tape stretches out to release its grip. However, the tape roll on the left is much more cost-effective!
【Tools】
- Utility Knife (Box Cutter)
- 30cm Ruler
- Cutting Mat (An old magazine works too—just something to protect your floor from the blade!)
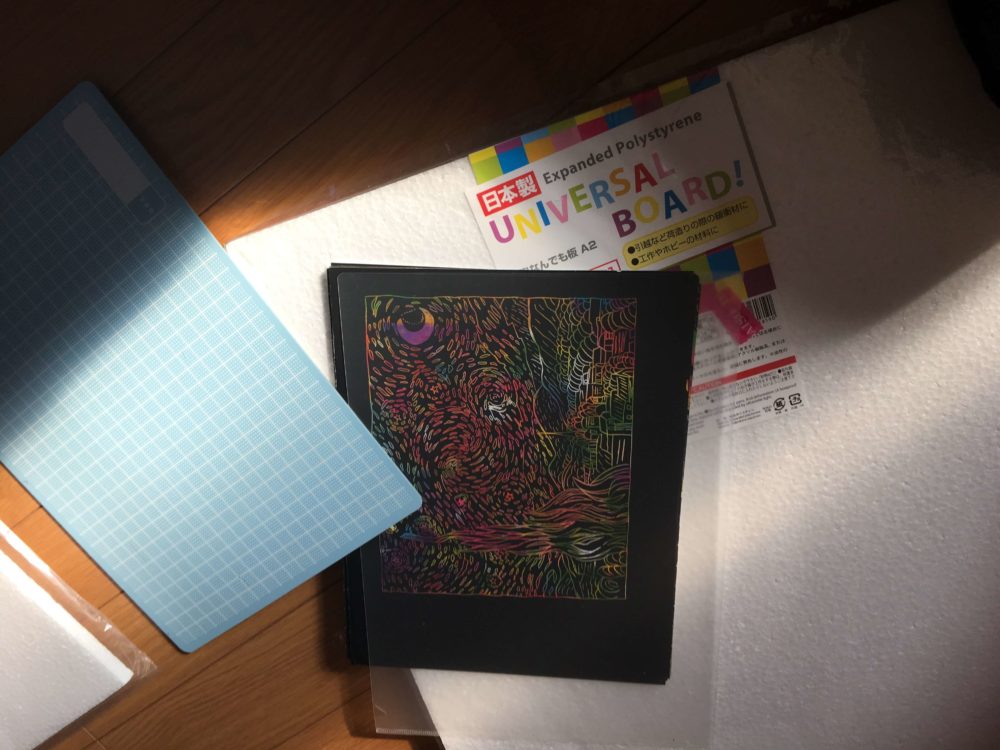
How to Make It
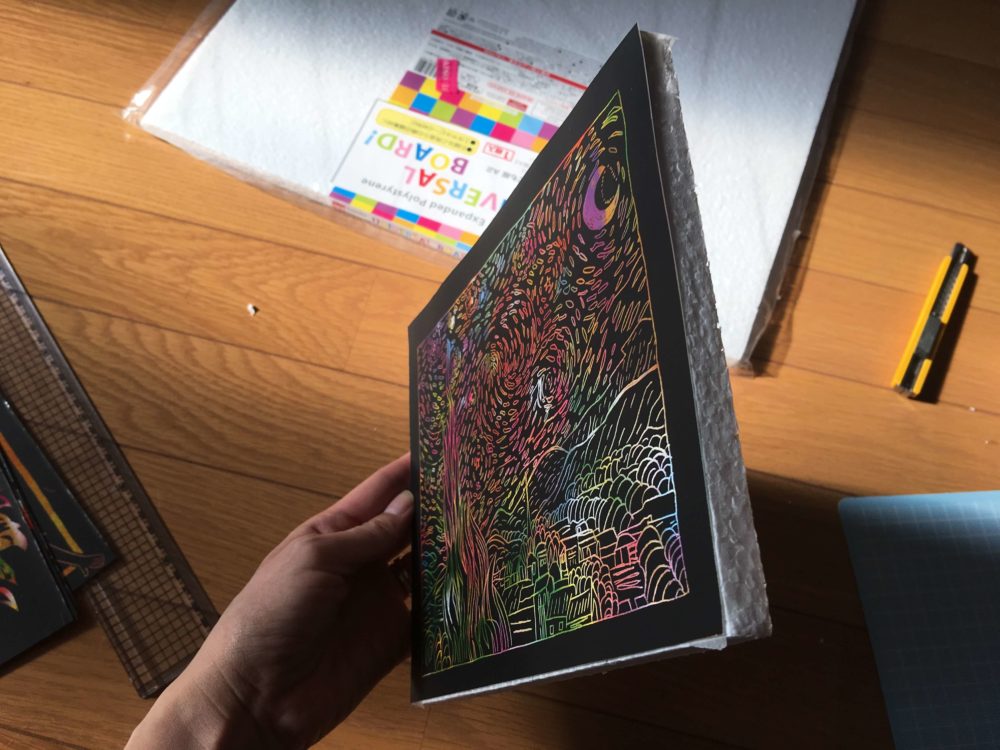
Step 1: Align your art piece on the styrofoam board and cut the styrofoam to size using your utility knife.
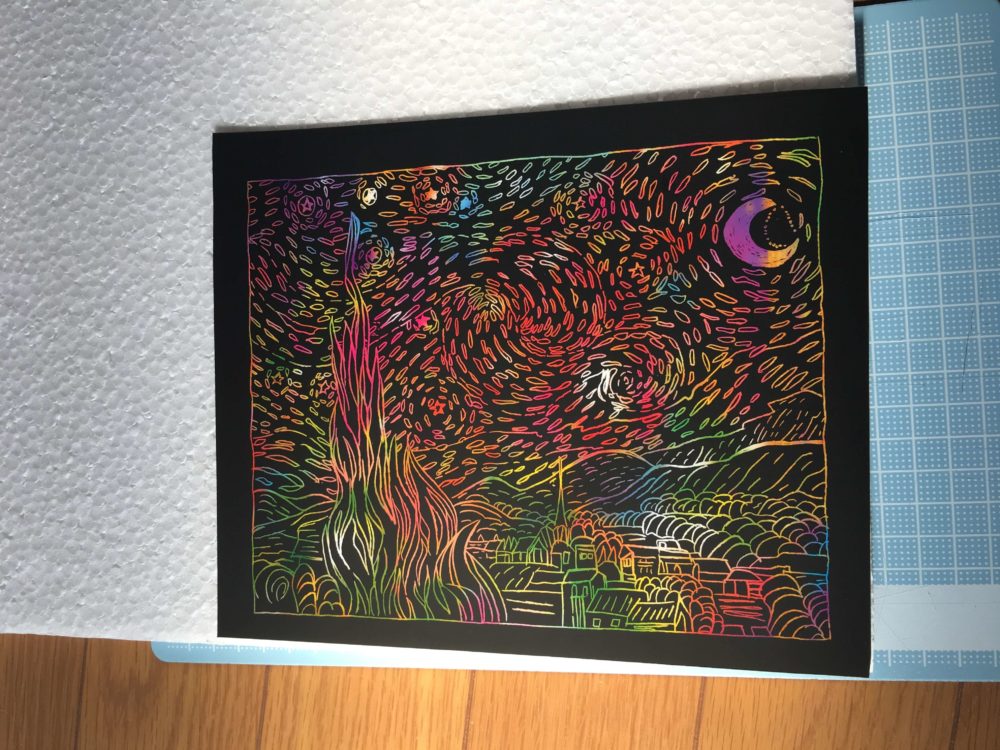
Step 3: Stick your art onto it!
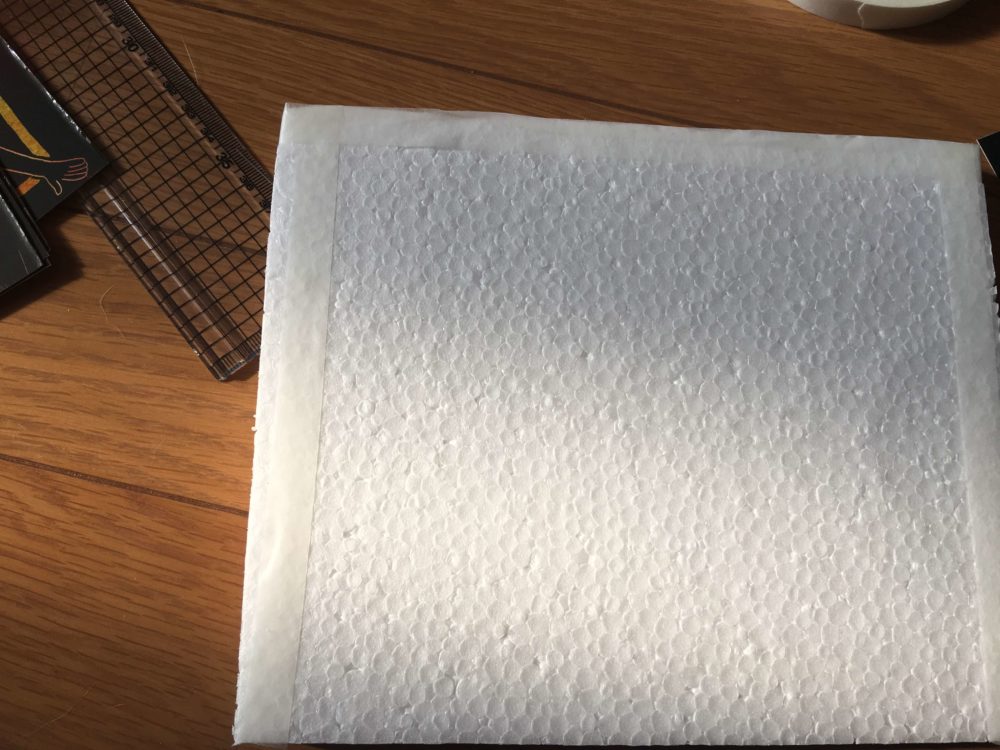
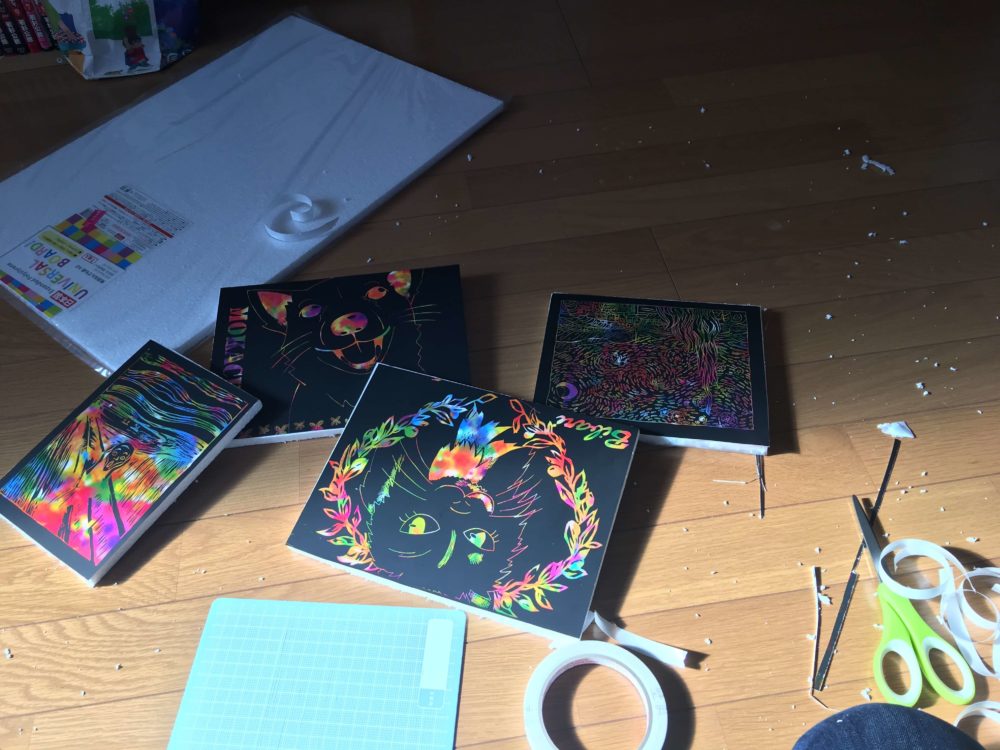
Finally, apply double-sided tape to the back of the styrofoam (the side without the art), and you’re done!
In no time at all, a flat piece of scratch art has transformed into a 3D panel.
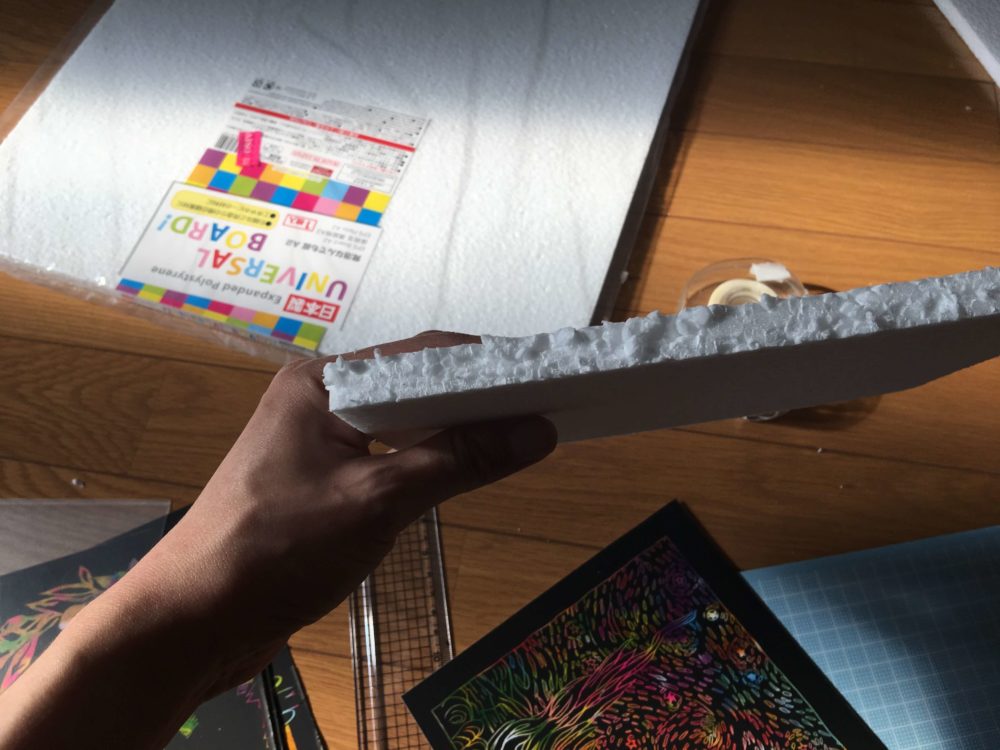
By the way, I used a regular utility knife to cut the styrofoam, but apparently, they sell specific “styrofoam cutters” for 100 yen too. If you use one of those, it prevents the edges from getting jagged.
Mine turned out quite bumpy… but you can’t see it from the front, so I don’t really mind!
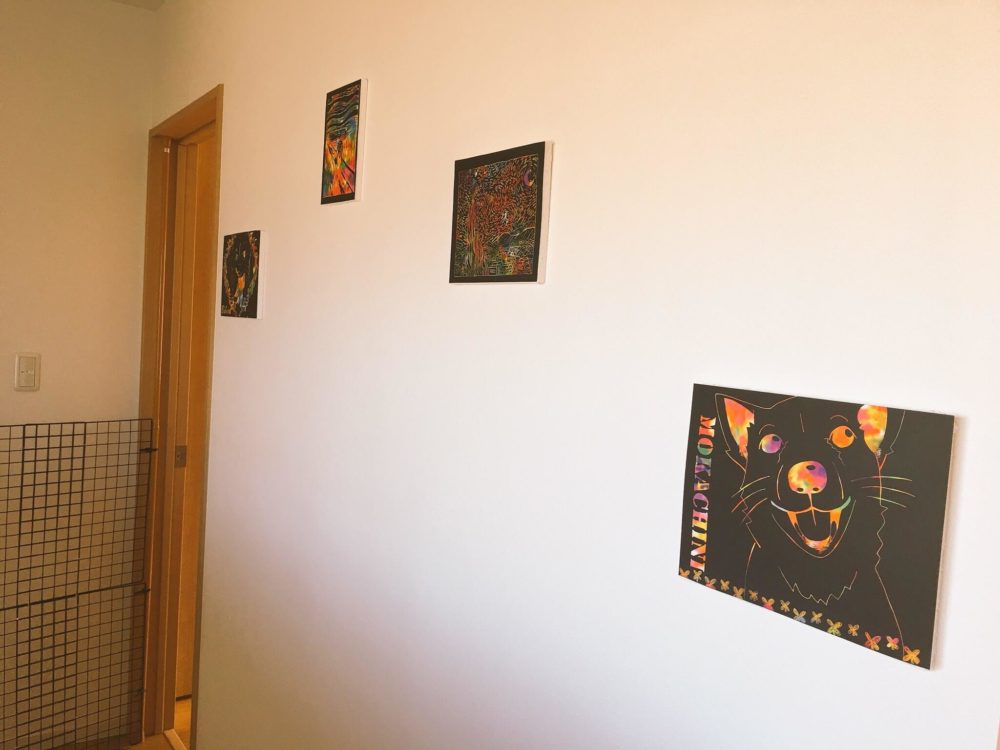
Now, take your finished panel and… Stick it to the wall, and it’s completely done!!
Doesn’t it make a plain hallway look super stylish? If you ever get bored or want to change up your interior decor, just peel the whole panel off the wall, or peel off the scratch art and stick something else onto the styrofoam. It’s such a fun and easy way to enjoy home decorating!
Important Notes on Panel Displays
As you can see, this panel isn’t protected by a frame, which means the surface of the art is exposed and can get scuffed if bumped. It might be best to display them high enough on the wall so that people’s shoulders won’t brush against them.
Also, even though we use wall-safe tape, if your art is printed on regular, fragile paper (unlike glossy photo paper or sturdy scratch paper), the tape might tear the paper when you try to remove it. Please use this method at your own risk if you are displaying precious or irreplaceable art.
Lastly, while I’ve never had my wallpaper peel off from using this wall-safe tape, results can vary depending on the humidity and your specific wallpaper material, so please be careful!
As always, please note that I cannot be held responsible for any damage caused by following this tutorial.
\\A bit about scratch art//
-
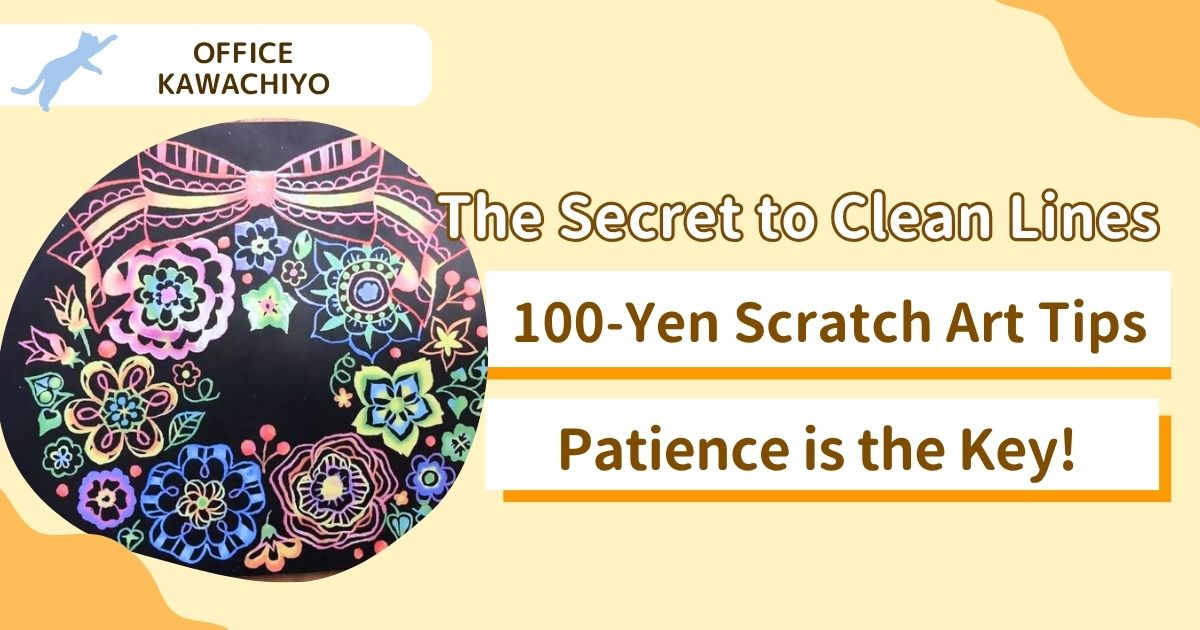 How I Finally Figured Out the Trick to Scratching 100-Yen Scratch Art Perfectly
-
How to Make Custom Scratch Art: Easy Ways to Transfer Your Original Designs
Author of this article
関連記事
-
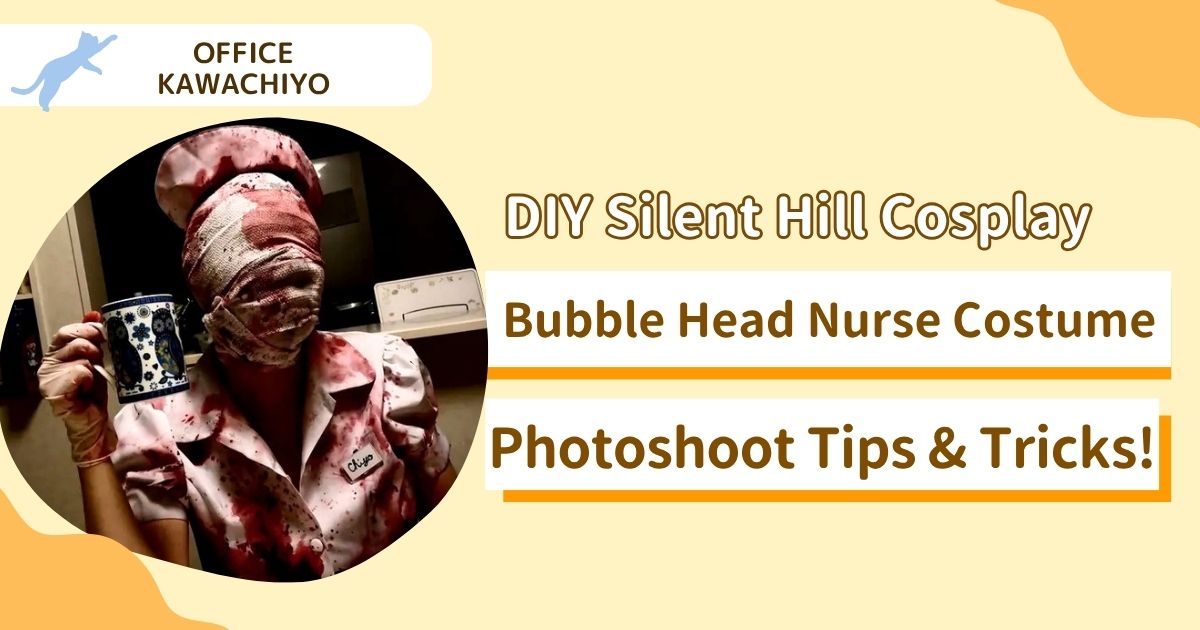 How to Make a Silent Hill Bubble Head Nurse Cosplay Costume & Photoshoot Tips
 -
 How Adults Actually Play with Action Figures: A Personal Investigation
 -
 How to Enjoy “Adult Coloring Books” & My Recommended Colored Pencils
 -
 How to Do “Paint by Numbers”: Easy Oil Painting Just by Coloring!
 -
 [Thorough Comparison] Why You Should Choose Adult Coloring Books by Paper Quality! The Secret to Easy Blending and Shading
 -
How to Make Custom Scratch Art: Easy Ways to Transfer Your Original Designs
-
How I Finally Figured Out the Trick to Scratching 100-Yen Scratch Art Perfectly
-
 Is 100-Yen Daiso Scratch Art Hard to Scratch? An Honest Review
Comments