



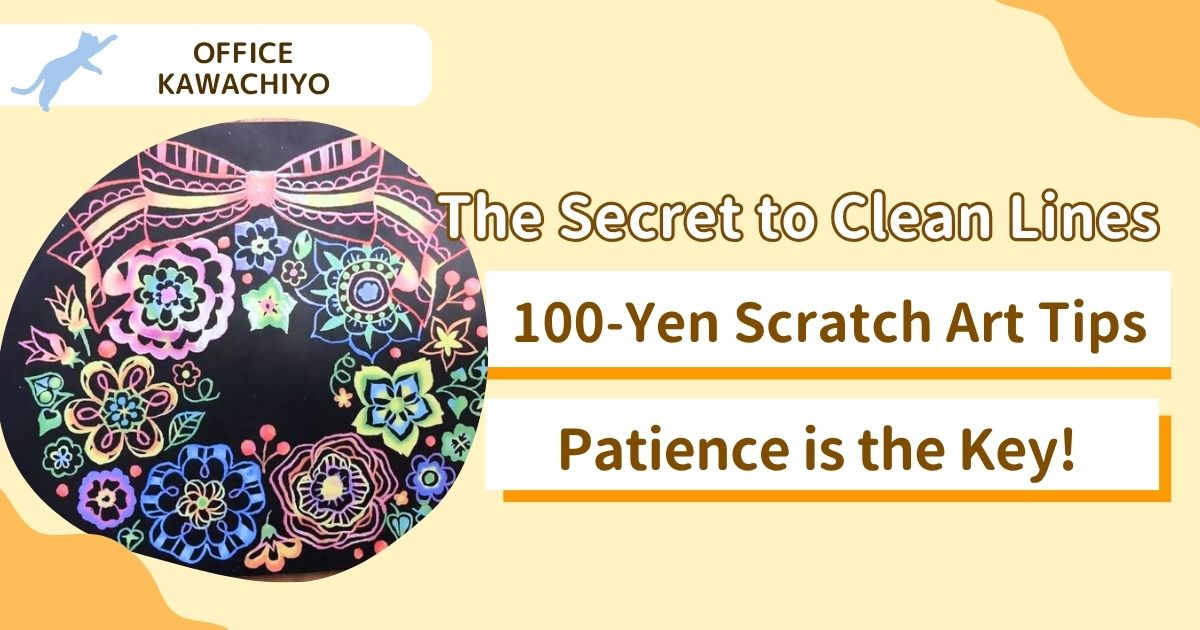
How I Finally Figured Out the Trick to Scratching 100-Yen Scratch Art Perfectly
In my previous post, I wrote about how trying out 100-yen (dollar-store) scratch art was a bit of a struggle because the black coating was too hard and difficult to scratch off.
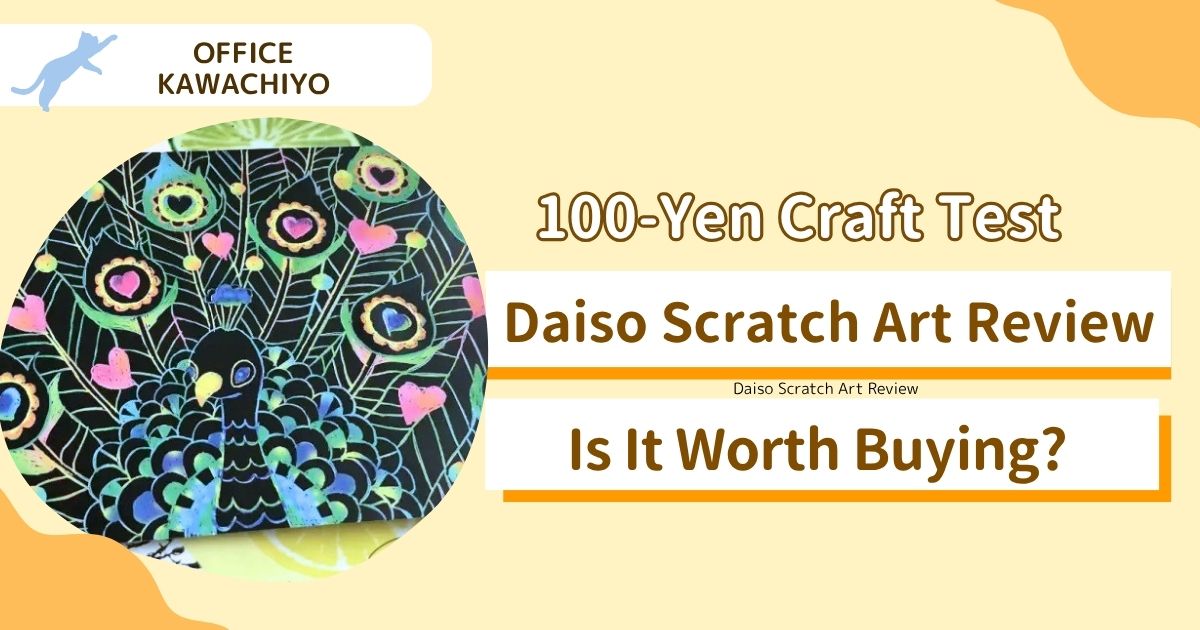
It’s true—the colored paper underneath is fragile, yet the black top layer is stubborn. This made scratching a hassle, leaving patchy black residue everywhere and resulting in a messy finish.
Feeling a bit frustrated with it, I handed a sheet to my husband and let him try scratching it…
100-Yen Scratch Art: A Clear Difference in Quality Depending on the Crafter!
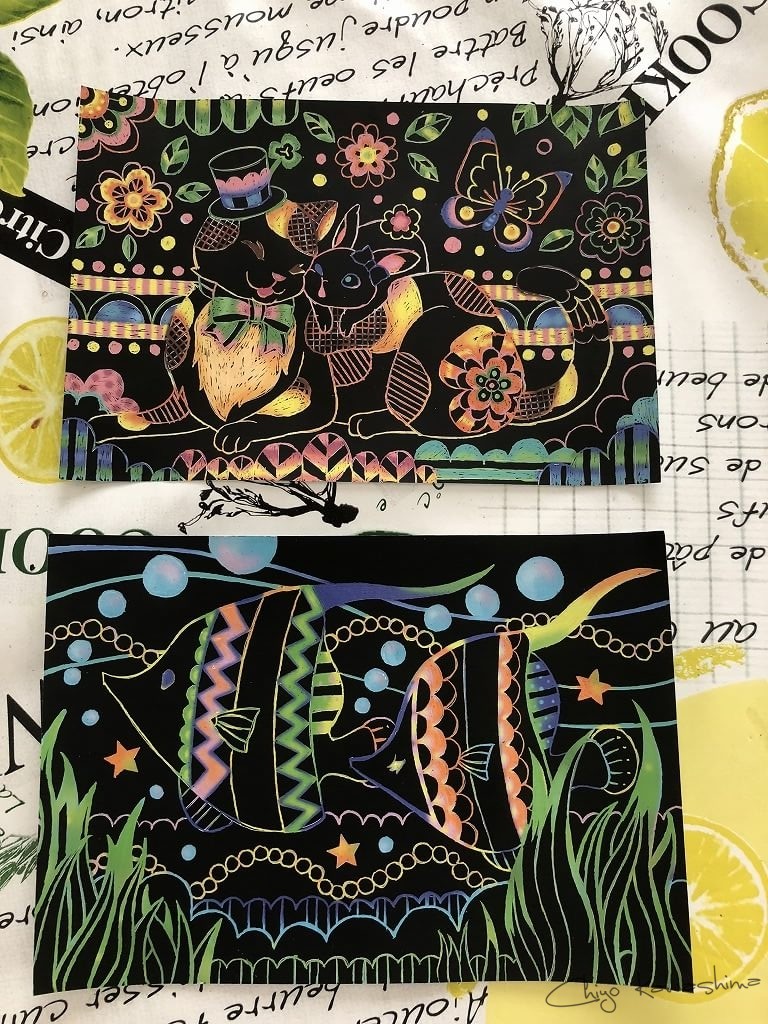
The top one was scratched by me.
The bottom one was scratched by my husband.
Don’t you think there’s an obvious difference in quality?
I mean, how did he get the colors to show up so beautifully?
I asked him, “Wasn’t that incredibly hard to scratch?!”
 husband
Uh, you just have to be patient and keep scratching…
So, basically, I just lack patience. Right. Got it.
Hearing that stung my pride as a “Scratch-Arter” (a word I totally just made up). So, I mustered up some actual patience and carefully scratched away to completely remove the remaining black residue from the surfaces.
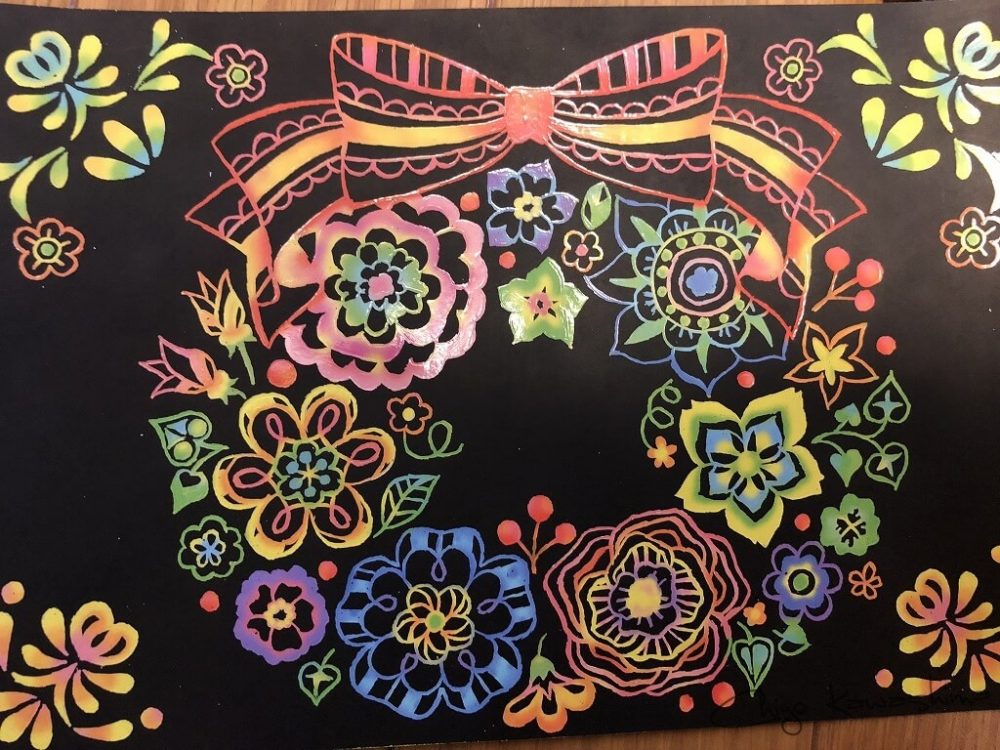
And here is the result.
It turns out my poor scratching wasn’t because of the cheap price—it was my own fault all along!!
My Tips for 100-Yen Scratch Art
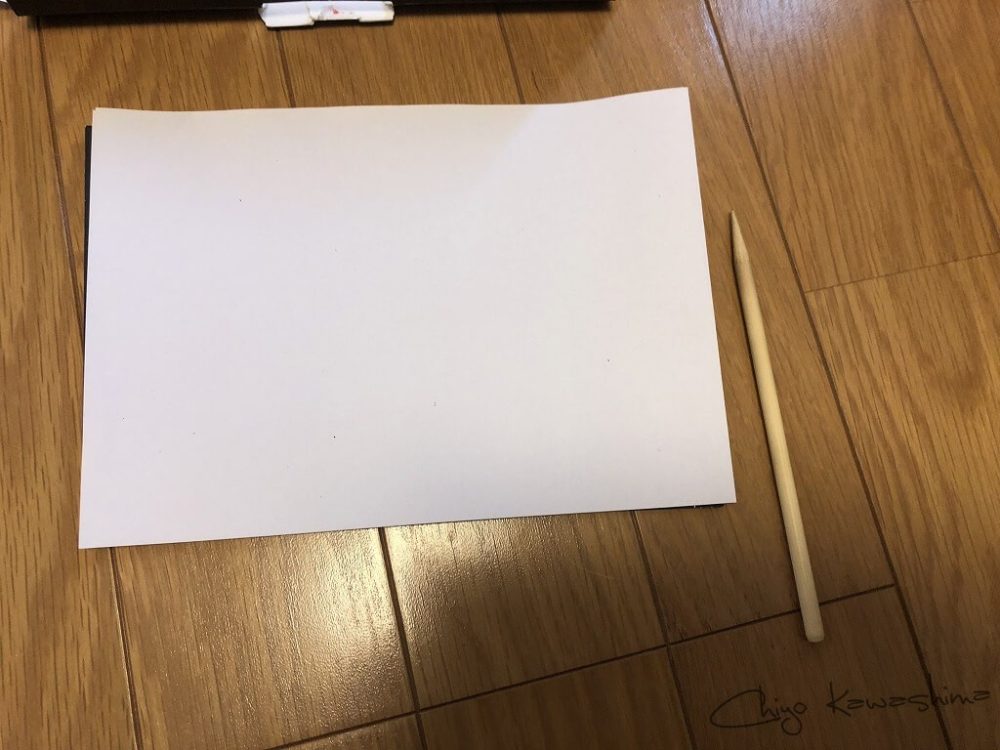
Tip 1: Use the Included Wooden Stick
The black coating on the 100-yen scratch art is tough, and there are lots of large areas to clear out. Ultimately, using the included wooden stick makes it much easier to scrape these sections.
Tip 2: Scratch “Thick” Lines
If you miss the guide lines slightly, the stark white printing shows through and looks bad. To avoid this, hold the wooden stick upright and deliberately scratch a “thicker” line for a cleaner finish.
Tip 3: Tilt the Stick for Gradients
Black residue tends to linger on the larger areas. If you tilt the wooden stick slightly sideways and scratch patiently, a beautiful gradient color will emerge from underneath!
After mastering these three tips, I finished scratching the “Floral” series… Look at this result!
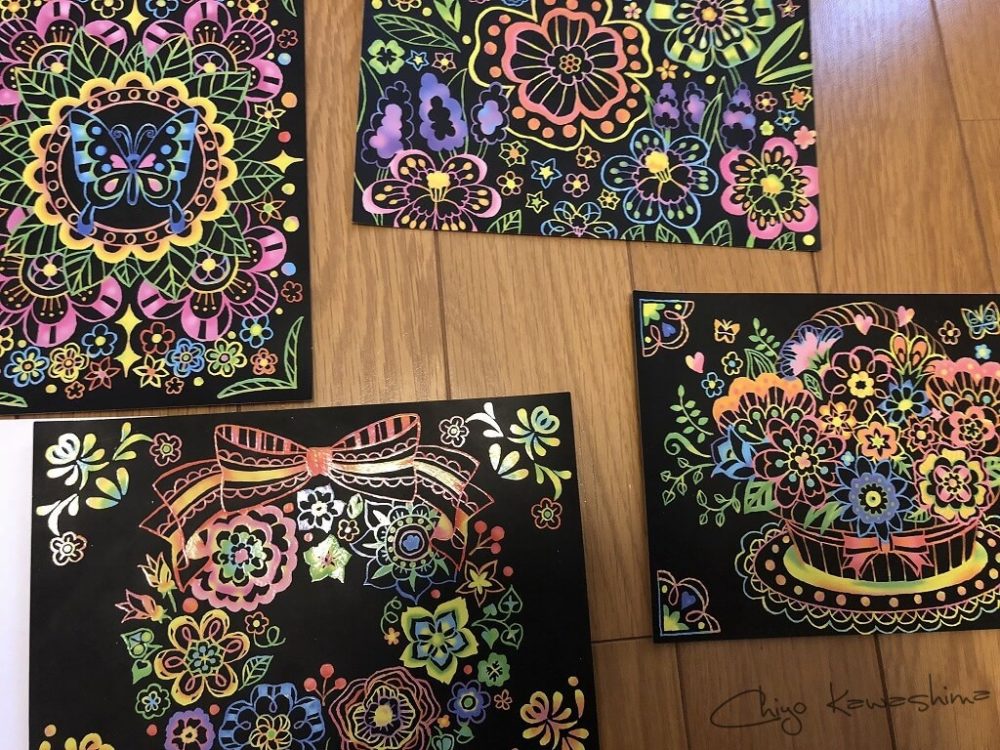
Compared to the “Animal” series I did last time, the difference is massive…
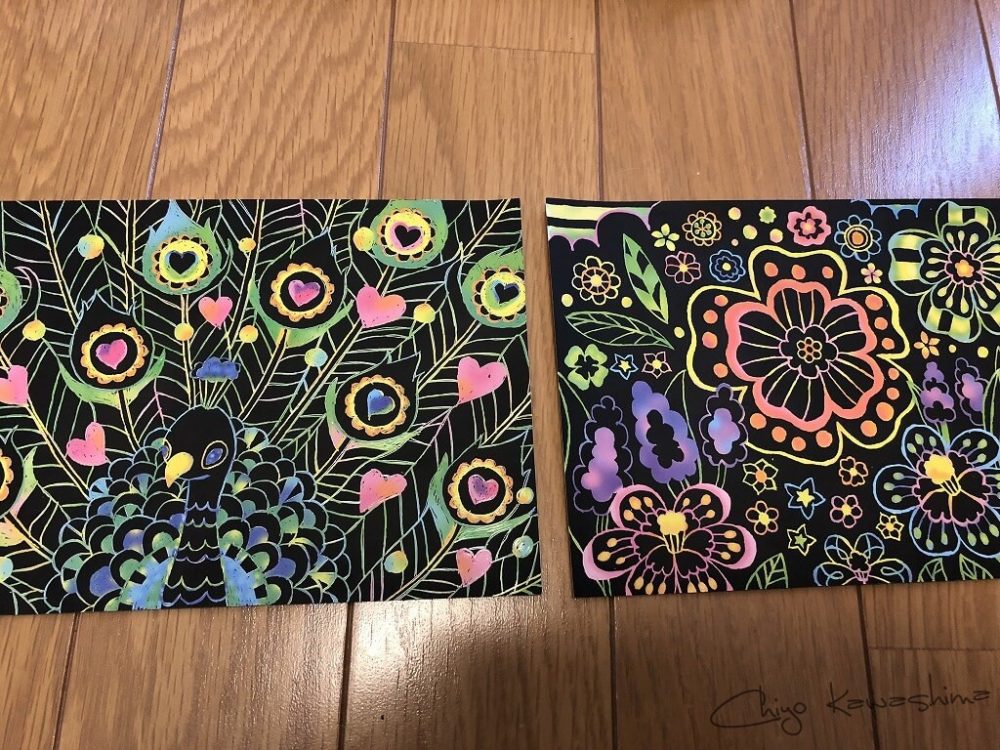
I realized that because the wooden stick is softer, even if you keep rubbing the large surface areas, it won’t tear through the delicate paper underneath. (Your fingers will ache, though.)
Also, I learned that everything in life requires “patience” and “carefulness.” Two skills I severely lack, by the way.
The Lesson Learned
Even with a cheap 100-yen item, if the crafter takes their time, it can turn out beautifully. However… it still can’t beat the buttery smoothness of a proper scratch art book bought from a bookstore!
-
Is 100-Yen Daiso Scratch Art Hard to Scratch? An Honest Review
-
 How to Make a 100-Yen DIY Art Panel to Display Scratch Art and Photos
Author of this article
関連記事
-
 How to Make a Silent Hill Bubble Head Nurse Cosplay Costume & Photoshoot Tips
 -
 How Adults Actually Play with Action Figures: A Personal Investigation
 -
 How to Enjoy “Adult Coloring Books” & My Recommended Colored Pencils
 -
 How to Do “Paint by Numbers”: Easy Oil Painting Just by Coloring!
 -
 [Thorough Comparison] Why You Should Choose Adult Coloring Books by Paper Quality! The Secret to Easy Blending and Shading
 -
 How to Make Custom Scratch Art: Easy Ways to Transfer Your Original Designs
 -
How to Make a 100-Yen DIY Art Panel to Display Scratch Art and Photos
-
Is 100-Yen Daiso Scratch Art Hard to Scratch? An Honest Review
Comments