



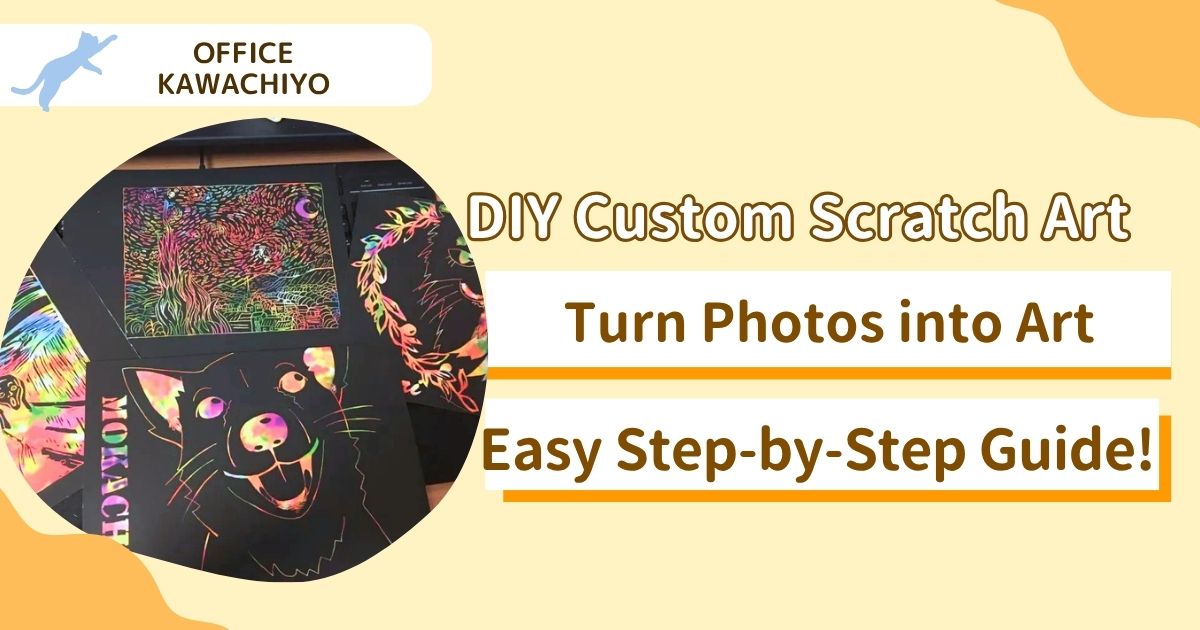
How to Make Custom Scratch Art: Easy Ways to Transfer Your Original Designs
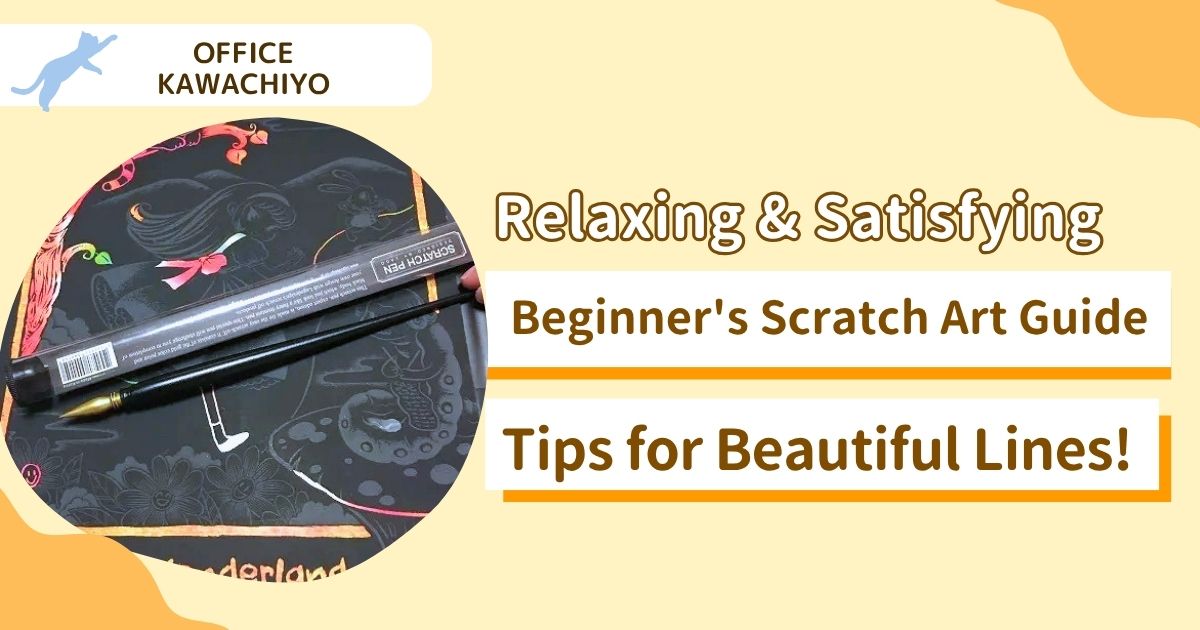
In a previous post, I wrote about my adventures with a pre-drawn scratch art set and how much I enjoyed the therapeutic art of scratching.
This time, I want to take those skills a step further and show you how to create your very own “original” custom scratch art!
How to Make Original Scratch Art
What You Need:
- Blank Scratch Paper (You can even find these at 100-yen shops!)
- A Scratch Pen
- A photo or drawing you want to recreate
- A Printer (Or just thin copy paper if you don’t have one)
For this project, I’ll be using one of the 4 blank scratch sheets that came as a bonus with the “Fairy Tale” scratch art book I bought previously.


The Process
Well, you could honestly just start scratching the paper freehand if you wanted to, but today, I want to draw a picture of my dog. So, I’ve got a photo of him ready!

Using this photo as a base, I’m going to create a line drawing.

1. Trace the Outlines I lowered the opacity of the photo and traced the rough outlines.

2. Fill in the Areas to Scratch Next, I filled in the areas that I want to scratch off. I used PaintTool SAI (a popular Japanese digital painting software) to draw the lines, but you can use Photoshop, Corel Painter, or whatever drawing app you prefer.
If you are super confident in your freehand skills, you could just draw straight onto the scratch paper!
I also added some decorative text and illustrations. Then, I put a black background behind it to check how the final image will look.

3. Finalize the Design Once you think, “Okay, this looks good!!” change the line color to light gray and make the background transparent.

I finalized my design in Photoshop. If you export it as a standard “PNG” file, the background will naturally be transparent.
Why not use black or white lines? Two reasons: If you print black lines on black scratch paper, you won’t be able to see them. If you print stark white lines, they will be super obvious and look messy if you miss a spot while scratching. The pre-drawn commercial scratch art kits use gray lines too, so this color really is the best choice!
Now that the design is ready, all that’s left is to transfer it and scratch!
I’ve prepared two methods: one if you have a printer, and one if you don’t (or if your printer refuses to recognize the scratch paper).
Method 1: Printing Directly with a Printer
This is the easiest way. Just load the scratch paper, print your design directly onto it, and then squint your eyes and start scratching!
A quick tip: When I tried printing directly from Photoshop, my printer wouldn’t recognize the thick scratch paper. I actually had to use Method 2 (below) for a couple of sheets. But when I simply saved the PNG file to my desktop and printed it from the default image viewer, the printer fed the paper perfectly! If you’re having trouble printing from your art software, try printing the saved file directly.
(Please note: If your printer gets damaged from feeding scratch paper into it, I cannot be held responsible! Try this at your own risk.)
Method 2: The Pencil Transfer Technique (No Printer Needed!)
If you can’t print on the scratch paper, we will use regular copy paper and a pencil.
- Print your design onto standard copy paper.
- Flip the paper over. Using a dark, soft pencil, scribble heavily all over the back of the paper, covering the areas where your lines are.

Basically, you are turning this copy paper into DIY carbon tracing paper!

Place the paper (design side up) on top of your blank scratch paper. Trace over your lines firmly with a pen. This will transfer the graphite from the back of the paper onto the black scratch surface.
Be careful not to press too hard, or you might accidentally scratch the black coating underneath!

Once you’ve traced everything, you’re done!

It’s a bit hard to see in the photo, but the outline of my dog has successfully appeared on the black surface.
Now, you just have to patiently scratch along these lines.

I think it turned out pretty cute!
Endless Possibilities
This time, I turned a photo of my own pet into an illustration for scratch art, but you could also extract the line art from famous classic paintings and scratch those! (For your own personal enjoyment, of course.)
There are so many ways to enjoy scratch art. Once you get tired of just tracing pre-made kits, challenging yourself with your own original illustrations is incredibly fun!!
Maybe I should start selling custom scratch art pieces!

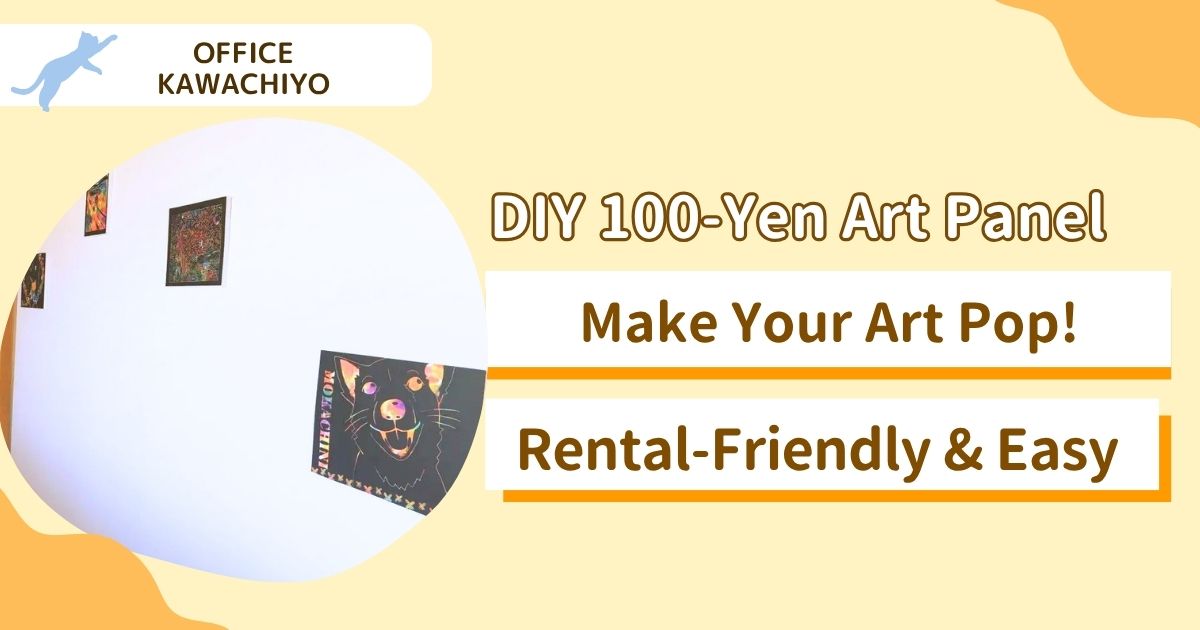
By the way, if you make a masterpiece that you really love, you’ll probably want to display it, right?
If so, why not make a gorgeous display panel using 100-yen store materials?
\Check out my full list of Scratch Art articles here!/
-
How to Make a 100-Yen DIY Art Panel to Display Scratch Art and Photos
-
 [Thorough Comparison] Why You Should Choose Adult Coloring Books by Paper Quality! The Secret to Easy Blending and Shading
Author of this article
関連記事
-
 How to Make a Silent Hill Bubble Head Nurse Cosplay Costume & Photoshoot Tips
 -
 How Adults Actually Play with Action Figures: A Personal Investigation
 -
 How to Enjoy “Adult Coloring Books” & My Recommended Colored Pencils
 -
 How to Do “Paint by Numbers”: Easy Oil Painting Just by Coloring!
 -
[Thorough Comparison] Why You Should Choose Adult Coloring Books by Paper Quality! The Secret to Easy Blending and Shading
-
How to Make a 100-Yen DIY Art Panel to Display Scratch Art and Photos
-
 How I Finally Figured Out the Trick to Scratching 100-Yen Scratch Art Perfectly
 -
 Is 100-Yen Daiso Scratch Art Hard to Scratch? An Honest Review
Comments